Want to learn how a Photoshop tutorial for graphic design actually works? It is all about grabbing Adobe Photoshop to build everyday visuals like social media images, posters, and quick logos. To really get good at graphic design in Photoshop, you just need to nail a few core habits. We are talking about stacking layers, cutting out objects with selection tools, using masks to hide things safely, and tweaking your colors. If you are brand new, just start by cleaning up your messy screen panels.
Memorize a couple of easy keyboard buttons, mess around with simple photos, and do not sweat the complex stuff yet. A straightforward roadmap makes you pick up real skills fast, turning random ideas into crisp artwork for print or web.
Why Do You Need a Photoshop Tutorial for Graphic Design Today?
Look around you. Pictures are everywhere. Every cool shirt design, online ad, and book cover needs a designer. Adobe Photoshop is the main tool that top creators use to build these items.
I have worked as a real graphic designer for over ten years. Believe me, knowing your way around Photoshop changes everything for your career. It lets you change pixels, mix photos together, and build cool art out of nothing.
This guide gives you a simple, clear plan for your design journey. We will look at easy tools, cool pro tricks, and real design work. You will learn the exact steps to build your own art with zero stress.
You may also read :- Basic Photography Tips: How to Take Better Photos Today
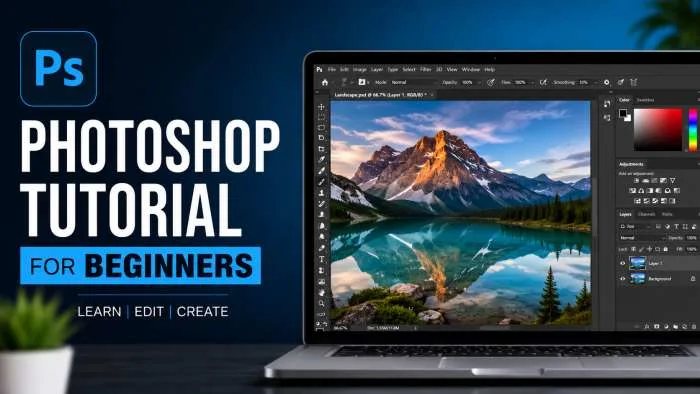
Set Up Your Creative Digital Workspace
Do not start drawing just yet. First, you need to set up your digital desktop. A clean workspace keeps you fast and stops you from getting confused.
Launch Photoshop and look at the very top menu row. Click on the word Window, then hover over Workspace, and click Graphic and Web. This setup puts your most important tools right where you can see them.
Your layers window will sit on the right side of your monitor screen. Your main tool strip will sit on the left side. This clean layout makes your design work go much faster.
Learn the Crucial Photoshop Tutorial for Graphic Design Basics
Every big project relies on tiny building blocks. You need to master these simple tools before you try to make giant, complex posters.
Master the Power of Layers and Grouping
Think of layers like clear sheets of paper stacked on top of each other. You can color on the top sheet without ruining the drawing on the sheet underneath it. This trick keeps your original images completely safe.
Type a clear name for every single layer so you stay organized. Put your layers into neat little folders by holding the Control key and hitting G. Good organization saves you from big headaches later.
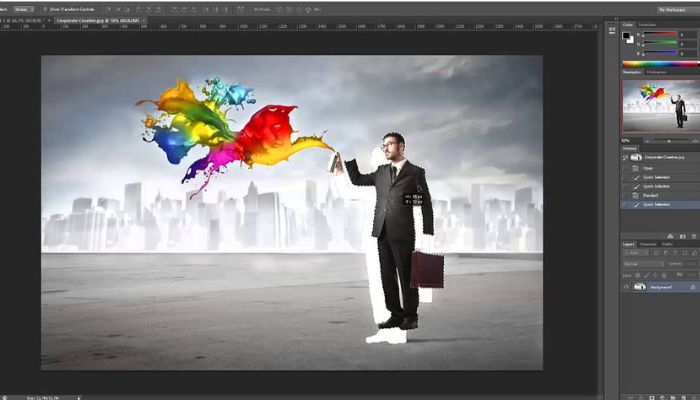
Use Precision Selection Tools for Clean Cuts
Designers have to cut out objects from backgrounds all day long. The Quick Selection Tool helps you grab objects in a couple of clicks. If you need a perfectly sharp edge, use the Pen Tool to draw a custom path around your object.
Good cuts make your mixed photos look totally real. Stay away from messy, jagged edges by tweaking your settings inside the Select and Mask window.
Advanced Editing in This Photoshop Tutorial for Graphic Design
Great, now you know the basic tools. Let us look at some sneaky tricks that real pros use to save time every single day.
Save Your Pixels with Non-Destructive Layer Masks
Throw your eraser tool in the trash. The eraser destroys your image pixels forever, and you cannot get them back later. Instead, use layer masks to hide the ugly parts of your photo.
Painting with black paint on a mask hides that part of the picture. Painting with white paint brings the picture right back. This trick lets you fix mistakes in two seconds without destroying your file.
Scale Safely with Smart Objects
If you shrink a regular photo layer and then stretch it back out, it turns into a blurry mess. Smart Objects stop this from happening. They lock in your original photo quality.
Right-click your layer and hit Convert to Smart Object. Now you can change the size over and over again, and your image stays perfectly sharp.
Master Typography and Essential Vector Shapes
Graphic design is all about mixing words with pictures to tell a cool story. Photoshop handles text and shapes like a boss.
Make Your Words Pop with the Type Tool
Click the Type Tool on your left toolbar to type words onto your canvas. Open up your Character panel to change the spacing between your letters and lines.
"Good fonts give your design a loud, clear voice." — My Golden Rule for Design
Stick to clean, plain fonts for long sentences. Save the wild, crazy fonts for your big main titles. Mixing big bold headlines with tiny clean text makes your layout look great.
Build Clean Layouts with Vector Shapes
Grab the Rectangle Tool or the Ellipse Tool to draw clean geometric borders and boxes. Vector shapes use math instead of pixels, so they never get blurry when you resize them.
You can swap the inner fill color or outer border lines in one click. Use these shapes to make buttons, frames, or solid backgrounds behind your text.
Polish Your Art with Professional Color Grading
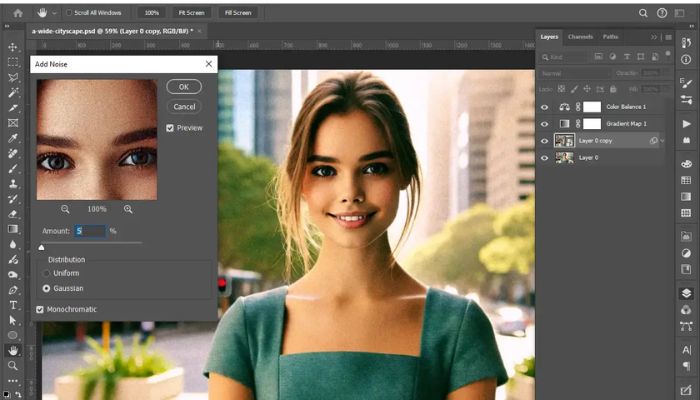
Colors change the mood and vibe of your artwork. Photoshop gives you powerful tools to tweak every single shade on your screen.
| Adjustment Layer Type | Primary Design Purpose | Common Visual Use Case |
| Levels | Fixes bright spots and dark shadows | Making dark photos look bright |
| Hue/Saturation | Swaps out specific color shades | Changing a red shirt to blue |
| Color Balance | Warm up or cool down your image | Adding a warm sunset glow |
Never change colors by using the main top image menu. Use adjustment layers instead. They sit on top of your layers like a pair of colorful sunglasses. You can change them, hide them, or delete them whenever you feel like it.
Speed Up Your Workflow with Expert Keyboard Shortcuts
Time flies when you have a ton of design work to finish. Memorizing simple keyboard hotkeys makes you work twice as fast.
- Press V: Instantly switches to your Move Tool.
- Press B: Grabs your Brush Tool so you can start painting.
- Control + Z: Erases your last mistake immediately.
- Spacebar: Lets you click and drag your way around a zoomed-in photo.
Keep your left hand resting on your keyboard shortcuts while your right hand moves your mouse. You will get your work done in half the time.
Your Next Steps to Creative Mastery
Learning Photoshop is not an easy task and requires some playing around. Don't panic about the hundreds of small buttons within the panels. Just get the handle on layers, masks, and selection tools. Once you're familiar with how those three things work you can create anything you can think of. Continue button clicking, experimenting, and create something amazing today!
FAQs for Graphic Designers
What is the actual difference?
Think of it like this. Opacity acts like a master volume slider for the whole layer. It turns down the visibility of everything, including any outer glows or drop shadows you added. Fill is different. It only fades out the main shape or photo, leaving your cool effects and borders sitting there at full strength.
Should I use Photoshop or Illustrator for logos?
Stop using Photoshop for logos. It uses pixels, so if you blow a logo up big, it gets blocky. Use Illustrator for logos because it uses vector lines that stay sharp on a giant billboard. Keep Photoshop for what it does best: fixing up photos, blending images together, and digital painting.
How do you match colors between two completely different photos?
It is super annoying when you paste two photos together and the lighting looks totally off. Fix it fast by putting both images into the same canvas. Click your top photo layer, go to Image, hit Adjustments, and click Match Color.
What is the absolute fastest way to actually learn this software?
Stop binging three-hour video tutorials without touching your keyboard. You will just forget everything by tomorrow morning. Open up the app right now and make something silly, like a fake business card for your dog or a goofy movie poster starring your friends.