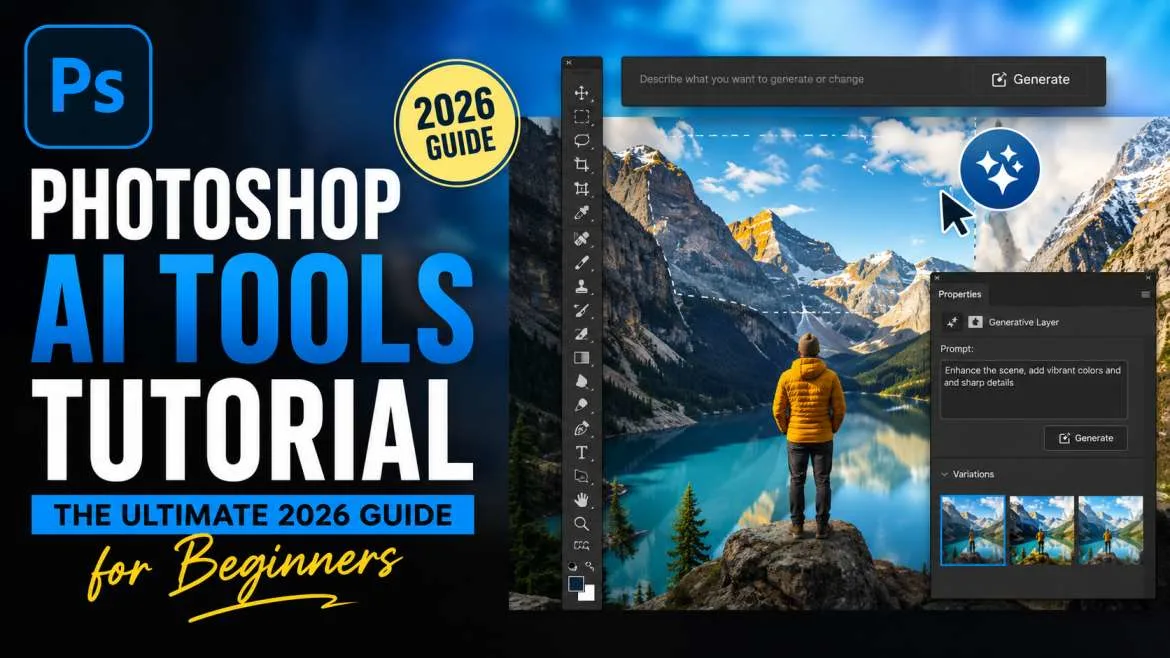
Photo editing used to be hard. You needed years of practice. You needed to know many steps. You had to cut out people by hand. You had to remove spots one by one. You had to guess the right colors. That is not true anymore.
Now, Adobe Photoshop has AI tools. AI means the computer helps you. The computer thinks like a smart helper. It does the hard work for you. You do not need experience. You do not need to watch many long videos.
This Photoshop AI tools tutorial is for beginners. You will learn AI photo editing for beginners in simple words. No hard terms. No shortcuts that break your picture. Just clean steps. By the end, you will edit photos like someone who has done it for years.
What is AI Photo Editing?
Smart editing tools do the heavy lifting for you. Instead of drawing lines by hand to cut out a person or spending hours smoothing skin, the computer understands what is in your picture. It knows the difference between a person, a sky, a tree, and a sidewalk.
When you use a photoshop ai tools tutorial, you learn how to give simple commands to the software. You can tell the computer what to add, what to remove, or how to fix the colors. The software then makes those changes in seconds.
You may also read :- How to Use Adobe Photoshop Express for Photo Editing Like a Pro
Clean Your Images with the Photoshop Generative Remove Tool
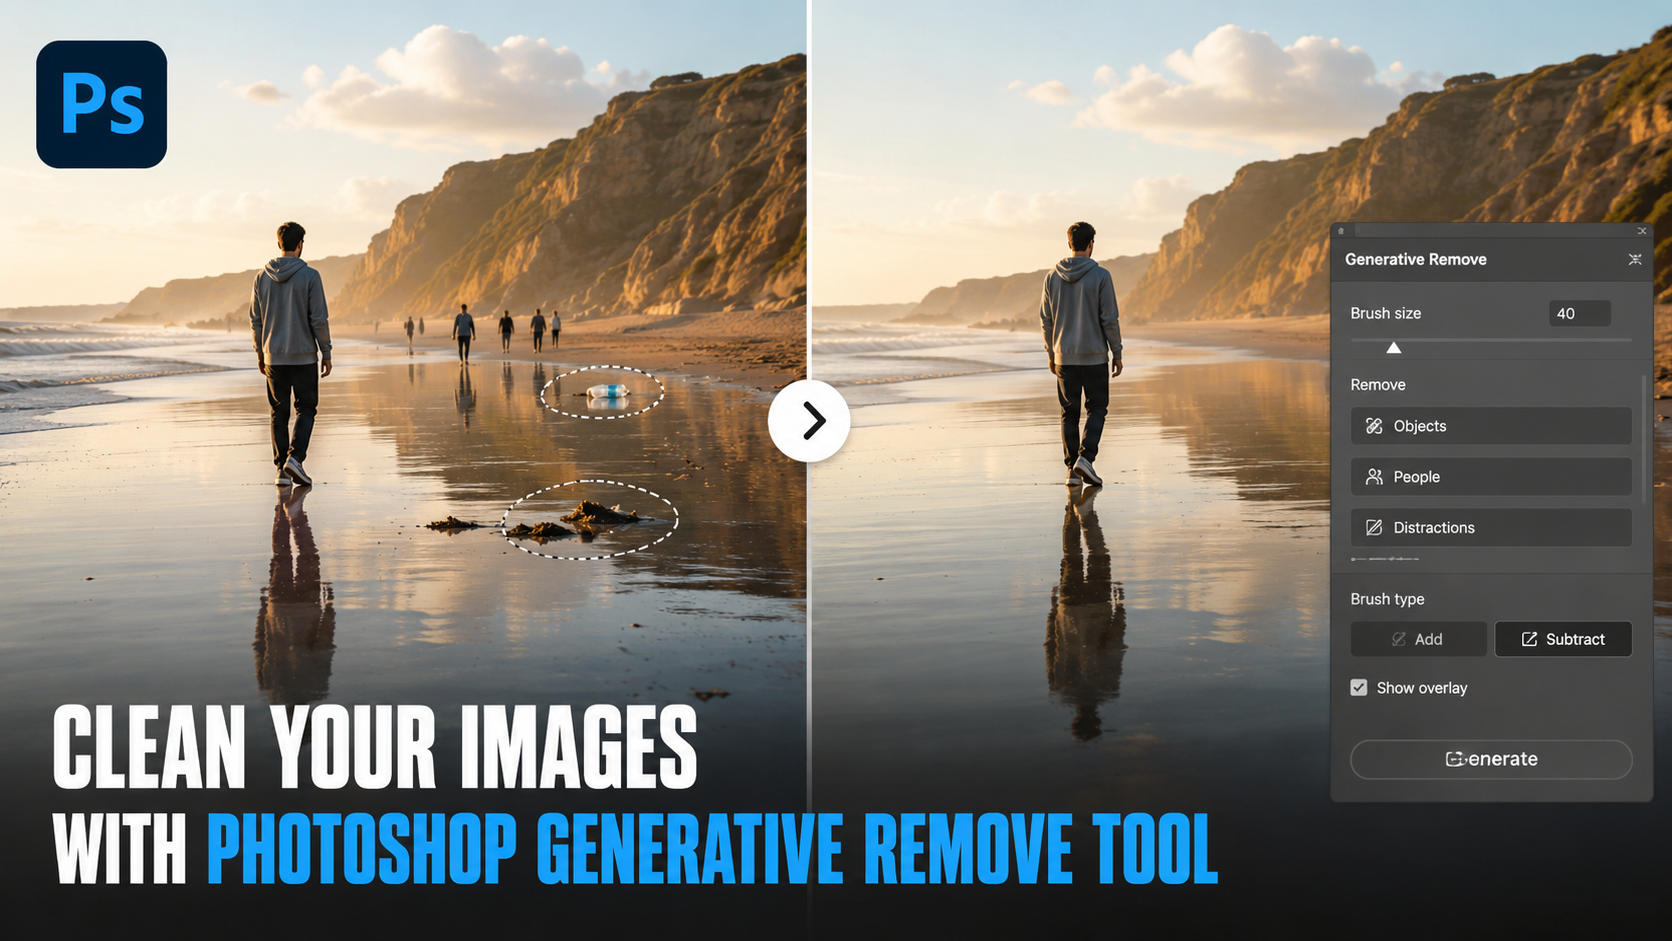
Every photographer knows the feeling of taking a great photo, only to find a trash can, a stray dog, or an unwanted person in the background. In the past, you had to use the clone stamp tool to paint over these distractions slowly.
Now, you can use the Photoshop Generative Remove Tool to clear your canvas instantly.
How to use it:
- Step 1: Open your photo in Photoshop.
- Step 2: Choose the Remove Tool from your left sidebar (it looks like a band-aid with small stars next to it).
- Step 3: Brush over the object you want to erase. Make sure you cover the entire object and a tiny bit of the area around it.
- Step 4: Let go of your mouse. The software analyzes the surroundings and replaces the object with a clean, matching background.
Why it works so well:
This tool does not just blur the background. It uses seamless blending to create new details that match the texture of the wall, grass, or sky behind the object. If you remove a person standing in front of a brick wall, the tool draws the missing bricks so perfectly that no one can tell something was ever there.
Change the Scene with AI Background Replacement
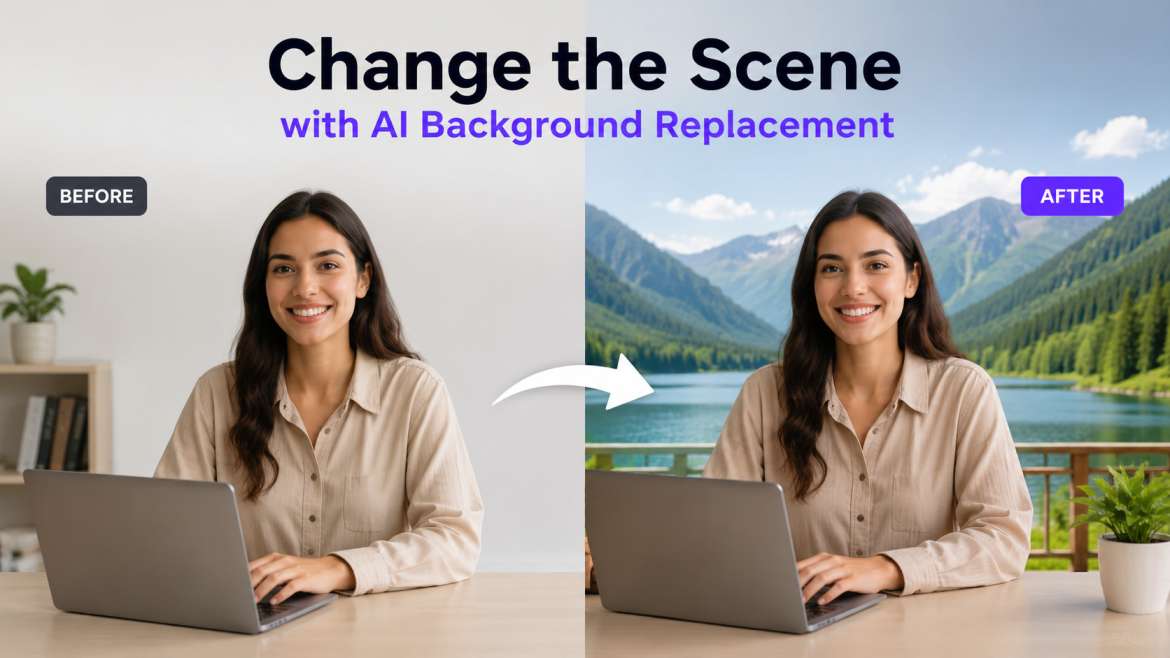
Sometimes, the subject of your photo looks perfect, but the location is dull. Maybe you took a portrait of a friend in a messy room, or a product shot on a plain kitchen table. You can use AI Background Replacement to transport your subject to a completely new world.
How to use it:
- Step 1: Select your subject. You can do this by clicking the Select Subject button on the bar at the bottom of your screen.
- Step 2: Click the Invert Selection option so that the background is selected instead of the person.
- Step 3: Click on Generative Fill in your taskbar.
- Step 4: Type what you want to see. For example, you can type "a sunny mountain forest with soft sunlight" or "a clean, modern studio background."
- Step 5: Click Generate and choose from three different options.
Keeping it realistic:
To make your new background look real, you need to focus on two things:
- Lighting Match: The light on your subject must match the light of the new background. If your subject has bright sun on their left side, your new background should have the sun on the left side too.
- Color Harmonization: Photoshop has a built-in feature called Harmonize. This tool adjusts the colors of your subject so they blend perfectly with the colors of the new background. If your new background is a green forest, it will add subtle green tones to the edges of your subject so they do not look like they were simply pasted into the scene.
Make Images Bigger with Photoshop's Generative Upscale
Have you ever found an old photo that you loved, but it was too small to print? If you try to stretch a small, low-resolution photo, it becomes blurry and pixelated.
The Photoshop Generative Upscale tool solves this problem. It does not just stretch the pixels; it actually calculates and draws new details to make the image sharp.
How to use it:
- Step 1: Go to the top menu and select Image, then click on Generative Upscale.
- Step 2: Choose your upscale model. You can choose the standard Adobe Firefly model, or use built-in professional options like Topaz Gigapixel for clean details.
- Step 3: Choose how much bigger you want the image to be, such as 2x or 4x.
- Step 4: Click Upscale. Photoshop will generate a brand-new, high-resolution copy of your image in a new tab.
This feature is a game-changer for commercial photography and printing. It allows you to take small photos from phone cameras or older devices and turn them into high-quality files that are ready for large prints or websites.
Retouch Portraits with AI Retouching and Skin Smoothing
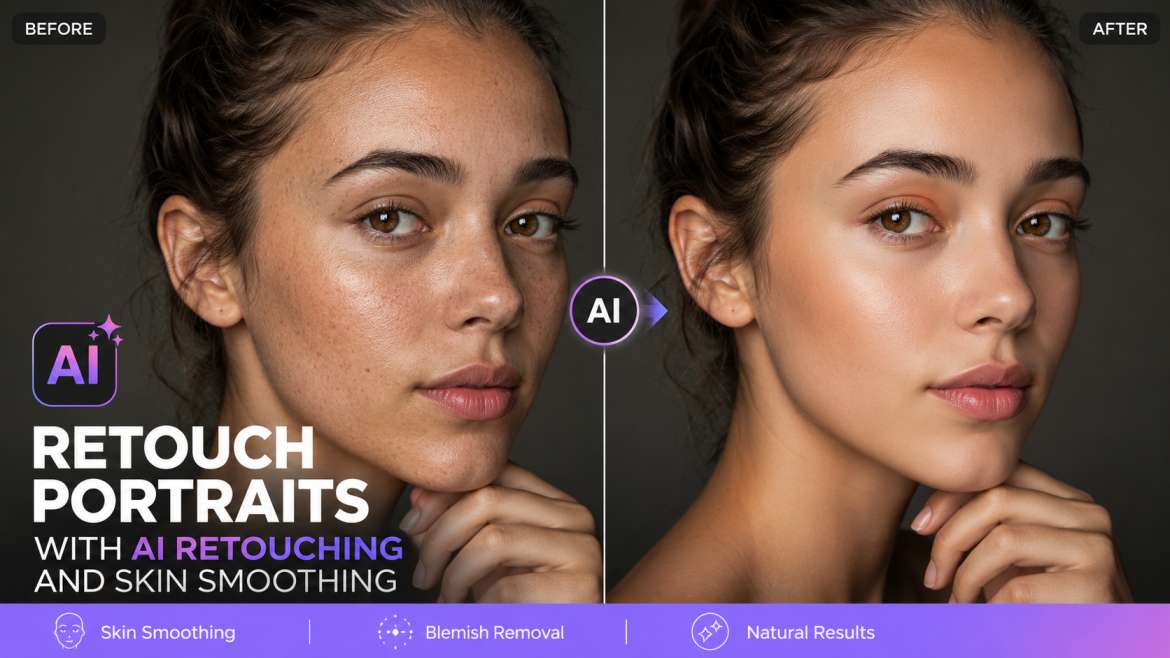
For a long time, editing faces was the hardest part of photography. Professional editors spent hours doing high-end retouching using complex techniques to remove blemishes without making the skin look fake or plastic.
Now, you can use AI Retouching and Skin Smoothing to get beautiful, natural results in seconds.
How to use it:
- Step 1: Go to the top menu and select Filter, then click Neural Filters.
- Step 2: Turn on the switch next to Skin Smoothing.
- Step 3: Use the Blur slider to smooth out rough skin textures and the Smoothness slider to balance out skin tones.
- Step 4: Click OK to apply the changes to a new layer.
Important Rule: Aim for realism over perfection. > When editing portraits, do not overdo it. If you turn the sliders up too high, the skin will look like plastic. You want your subject to look like a real human being with natural skin textures, not a doll. Keep the settings gentle to maintain a realistic look.
Create Anything with Text-to-Image in Photoshop
If you need to add an object that was never in the original photo, you do not need to search the internet for stock photos. You can use Text-to-Image in Photoshop to generate brand-new elements directly on your canvas.
How to use it:
- Step 1: Use the Lasso Tool to draw a rough circle where you want your new object to appear.
- Step 2: Click the Generative Fill button on the bar at the bottom of your screen.
- Step 3: Type exactly what you want to add. For example, type "a rustic wooden coffee mug" or "a red vintage sports car."
- Step 4: Click Generate. Photoshop will create the object and automatically match the shadows, lighting, and colors of your original photo.
This tool is incredible because it automatically handles the lighting match. If your photo is dark and moody, the object the computer generates will also be dark and moody, creating a perfect look without extra work.
Summary of Key Photoshop AI Tools
| Tool Name | What It Does | Best Used For |
| Generative Remove | Erases unwanted things from your photo. | Cleaning up distracting objects, trash, or people. |
| Background Replacement | Swaps the background of your image. | Placing your subject in a new location or studio. |
| Generative Upscale | Makes small photos large and sharp. | Printing old photos or preparing images for websites. |
| Skin Smoothing | Evens out skin textures quickly. | Quick portrait editing and clean skin tones. |
| Generative Fill | Adds new objects using simple text prompts. | Adding creative elements or props to a scene. |
Tips for the Best Results
To get the most out of these tools, keep these three basic rules in mind:
- Use simple prompts: When typing instructions for the computer, keep your sentences short. Instead of typing "a very beautiful yellow dog sitting under a tree during the afternoon," just type "yellow dog under tree." Simple language works best.
- Work in layers: Always apply your edits to a new layer. This keeps your original photo safe. If you make a mistake, you can simply delete the edit layer and start over.
- Match your lighting: AI tools are smart, but they work best when you help them. Try to edit photos that already have clear, simple lighting. This makes it easier for the software to blend new objects or backgrounds naturally.
Conclusion
Photoshop's smart features make photo editing accessible to everyone. You no longer need to spend months studying complicated manuals to remove distractions, swap backgrounds, or fix skin textures. By using these tools step by step, you can save hours of time and create beautiful, professional-looking images with ease. Open Photoshop today, grab a photo, and start experimenting