If you change a picture size you can feel as if you are attempting to squeeze a huge teddy bear into a small lunch box. At times you need to make it smaller to give it to a friend. Other days you wish it were larger to be hung on your wall! You will have a blurry picture or blocky picture in case you use the wrong buttons. But don't worry! Training how to resize an image using photoshop is not hard as long as you know the tricks involved.
Why Do We Need to Resize Photos?
All electronic images consist of millions of small colored dots known as pixels. This is to think of them as little LEGOs. In case you have a large castle as LEGOs and you want to reduce it to a small size, you must withdraw several of the bricks. This is called downsampling.
In case you want to play that you have a small castle but want it to be a big castle, then you need to put in more bricks! This is called upsampling. Photoshop becomes your kind of intelligent robot that assists you to add and/or take away these "bricks" to ensure that your picture still looks fantastic. YouTube: How to create a thumbnail the right size is the first step to being a professional designer, whether you are creating a thumbnail or a poster that is large.
How to Resize an Image Using Photoshop: The Basic Method
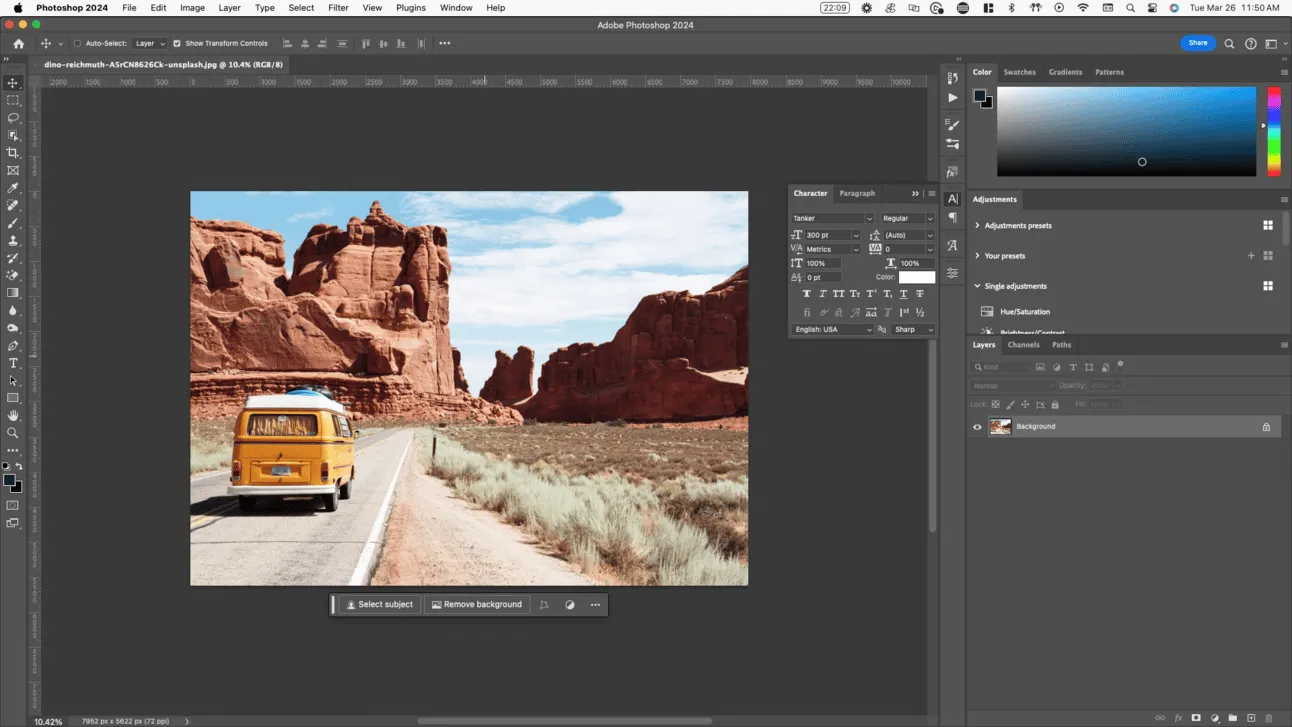
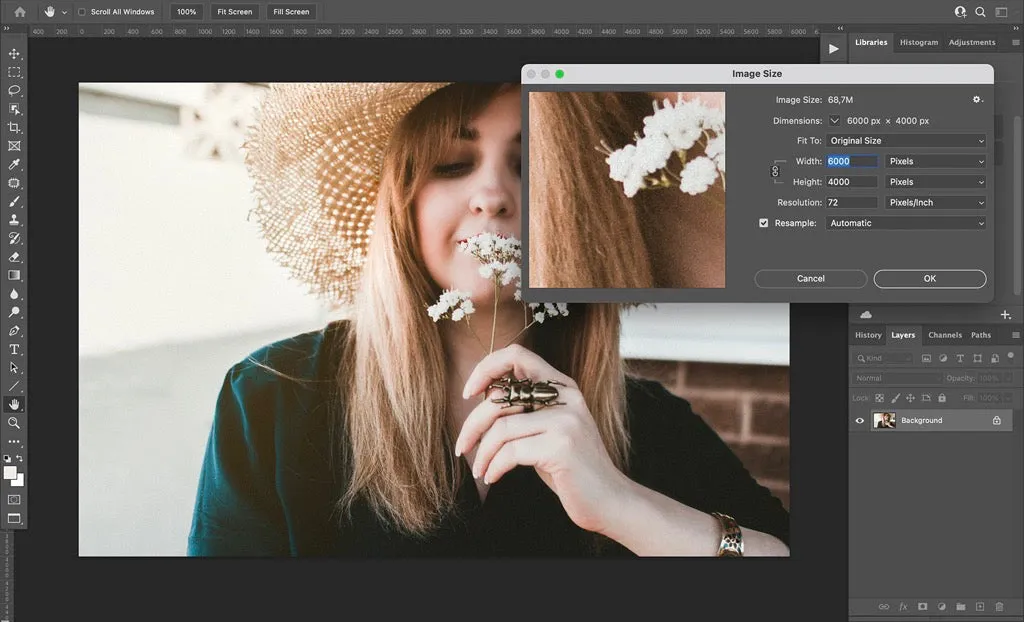
Image Size dialog box is the most popular way of resizing your photo. Here is the control center of the picture dimensions.
- Open Your Image: Under file, open and choose your favorite image.
- Activate the Resize Tool: In the upper part of your screen, you can see the Image button that you should click and then Image Size. To avoid the use of the fingers, you may also use the Photoshop shortcut, Ctrl + Alt + I (or Cmd + Opt + I).
- Check the Link: There is a small chain link next to Width and Height. Make sure it is clicked! This limits proportions, so that, with the width altered the height is altered as well. This will maintain the right size of your cat without making it too skinny or too fat!
- Enter Your Numbers: Enter the new size with which you want. It can be pixels, inches or percent.
- Click OK: Your picture will be brought to the new size immediately!
You may also read :- How to Fix Blur Image in Photoshop: A Complete Guide
Top Ways to Change Photo Dimensions and Scale
In the process of know how to resize an image in photoshop you may encounter a box with the word Resample. This is a large phrase, which simply implies "What does Photoshop do with the pixels?
- Automatic: Photoshop, figure it out. It is generally the surest thing that the novices can do.
- Bicubic Sharper: This is to be used in case you are reducing an image, it maintains the edges.
- Preserve Details 2.0: This is an upscaling tool that is a special type of artificial intelligence (AI). Use it when you need to make a little picture as large as possible but do not want it to be blurred!
Difference Between Image Size and Canvas Size
Many get lost at this point. Suppose that you have a picture of a dog.
- Image Size: This causes the dog to either be bigger or be smaller.
- Canvas Size: This is the piece of paper that the dog is seated on. When you expand the canvas you are simply adding more white space to the dog. The dog remains exactly the same size!
Image size can be thought of as the zooming in and out of the matter whereas Canvas size is simply a change in size of the frame. — Digital Art Teacher
Steps for Modifying the Workspace and Background
In case you want to add a border and/or an extra space to write, then you can go to Image > Canvas Size. You are able to know which way Photoshop is going to expand the paper. By clicking the arrow in the middle, it increases in every direction! It is an excellent trick of creating social media graphics in which you require more space to write a Happy Birthday message.
Pro Secret: Using Smart Objects to Stay Sharp
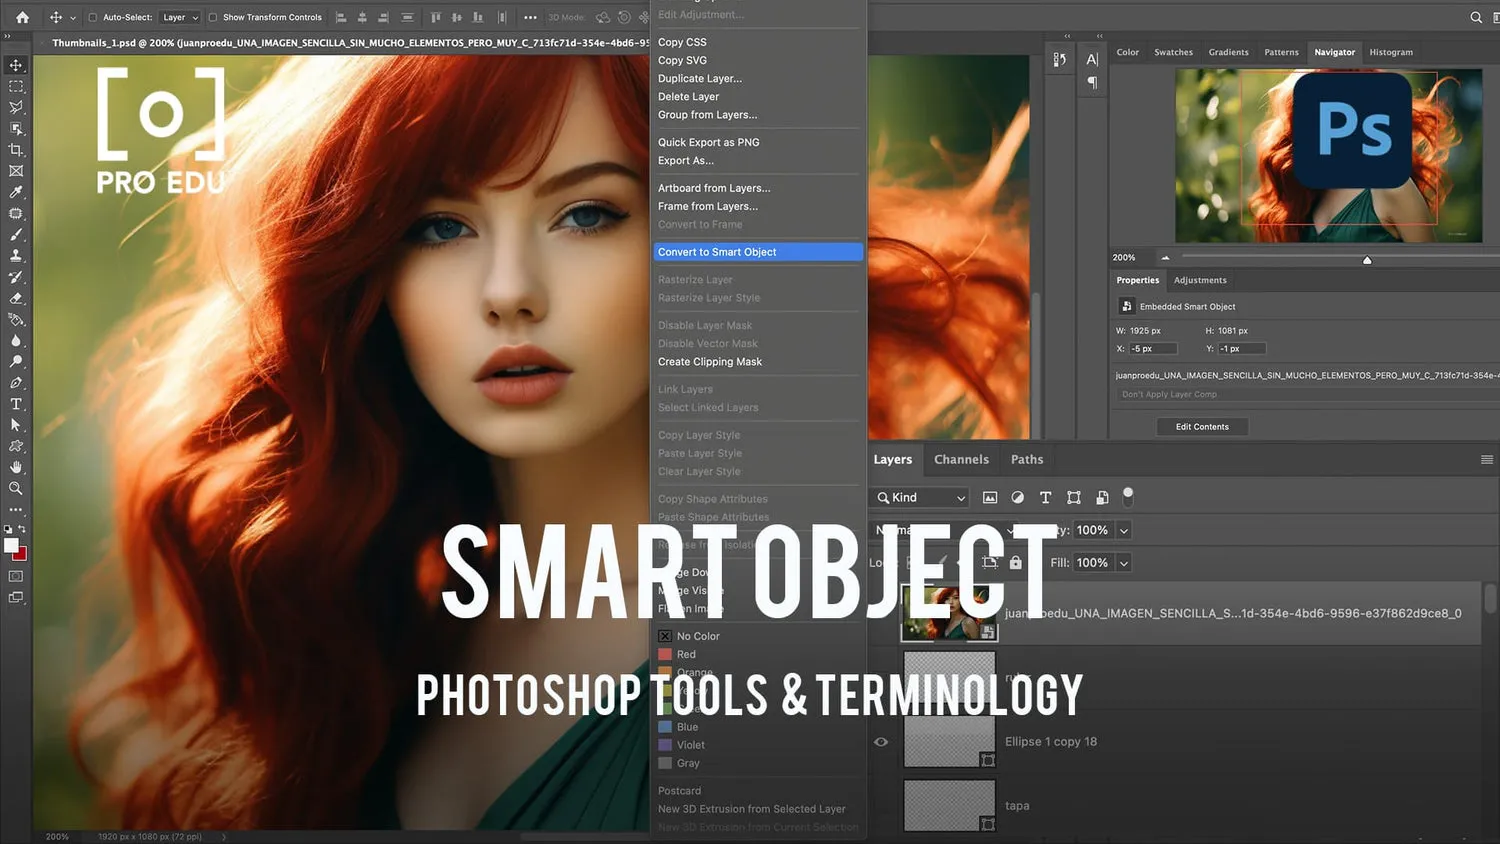
Did you ever make a picture little and then when you changed your mind, made it big again? The picture remains blurry in most of the programs. But in Photoshop we are given a magic shield, which is Smart Objects.
Right-click on your layer before resizing and convert it to Smart Object. And now, however many times you make the photo smaller or bigger, Photoshop does not forget the original quality. It is as if one has an undo button which is endless!
Expert Tips for High-Quality Upscaling
In case you simply have to make a small photo big, then the new Generative Expand tool is the one to try.
- Pick the Crop Tool.
- Pull the sides up to the size you desire.
- In the small bar appearing click Generate.
- Photoshop will draw the rest of picture of the picture on your behalf! It is like magic.
Ready to Be a Photoshop Pro?
And now you are well informed about the best secrets relating to resizing an image with the help of photoshop. You can use the Image size tool, Smart Objects or even the AI tools to make your pictures look flawless when you are undertaking any project.
Ho, remember, to learn best to play around! Go and take a photo and resize it small, then big and add a border using canvas tool. You'll be an expert in no time!
Would you like me to demonstrate to you how to save your pictures so that they are not too large to send in an email but still appear clear?
To have a visual guide on how to do these steps, refer to this how to resize an image using photoshop Tutorial. This video demonstrates to you the precise place where you will likely press a button as you create your own photos.
Frequently Asked Questions
What is the best determination for the web?
Most individuals utilize 72 PPI (Pixels Per Inch). This keeps the record little so it loads quick on phones and computers.
What determination do I require for printing?
If you need a sharp print, point for 300 PPI. This guarantees there are sufficient "bricks" for the printer to make a clear image.
Can I resize a bunch of photographs at once?
Yes! This is called group resizing. You can go to Record > Scripts > Picture Processor. Tell Photoshop which envelope to see in and what estimate you need, and it will do the work whereas you go get a snack!
Why does my photo see extended?
This happens if you unclick the chain symbol (Compel Extents). Continuously make beyond any doubt that connect is dynamic so your photo remains the right shape!