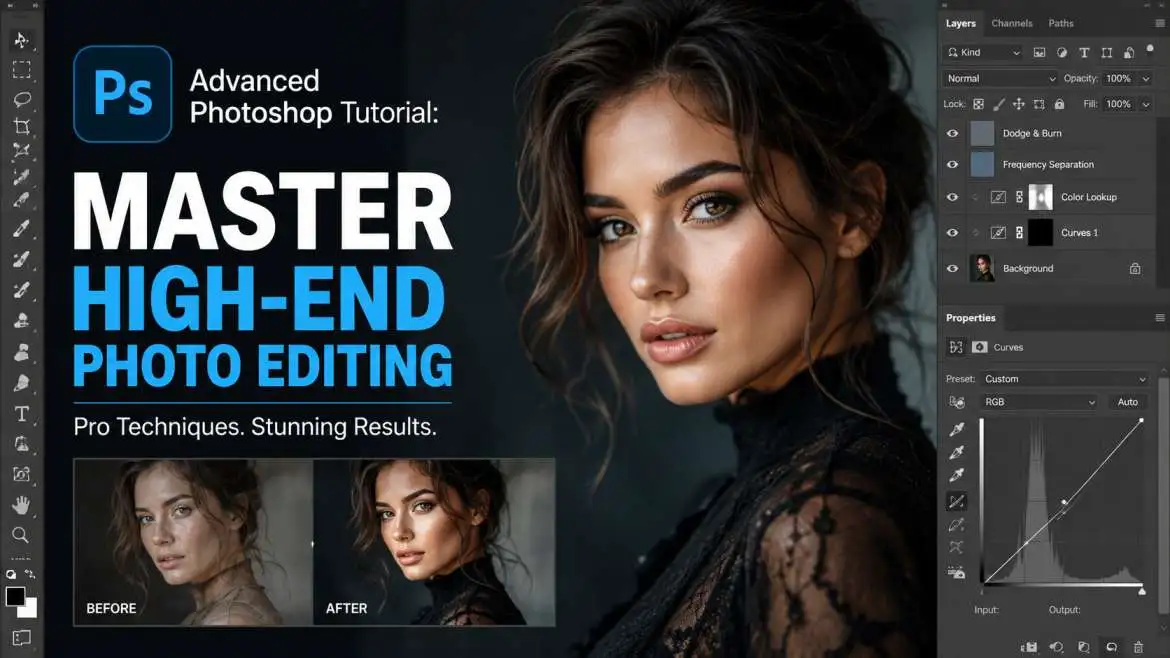
Most creators already know the basics. You can crop an image; you understand how layers interact, and you can probably use the spot healing brush in your sleep. But a massive gulf exists between making a photo look clean and creating a visual masterpiece that stops people mid-scroll.
Moving from intermediate skills to true expert execution requires a fundamental shift in how you analyze pixels. It demands absolute control, extreme preciseness, and a deep understanding of how light and physics work in the real world. This advanced Photoshop tutorial breaks down the exact real-world workflows that professional digital artists use daily to create flawless mixes and pristine skin edits.
The Power of Precision: Mastering Photoshop Advanced Tools
To build artwork that commands attention, you must look past the fundamental tools on your screen. True mastery begins when you leverage Photoshop's advanced tools to automate your workflow, save time, and achieve pixel-perfect selections.
Most users rely far too heavily on automated selection tools or the introductory wand settings. While recent updates have improved robotic edge detection, software still struggles with complex boundaries like flyaway hair, translucent glass, or shifting smoke.
You may also read :- Learn Photoshop Step by Step: Full Tutorial with Pictures
The Pen Tool: Your Ultimate Precision Weapon

Still, you must become completely comfortable with the Pen Tool if you want to master the art of a professional Photoshop compositing tutorial. It requires patient, homemade practice, but it offers a level of crisp edge control that automated tools simply can not replicate.
- Vector Paths: Unlike pixel selections, paths rely on math. You can scale your vectors infinitely without losing a single ounce of sharpness.
- The Rubber Band Feature: Turn this option on inside your pen tool settings icon. It gives you a live preview of your curve before you click, cutting down your editing time significantly.
- The Curvature Pen Tool: If classic handles feel clumsy to you, this option lets you click smoothly along a shape while the software calculates the perfect arc for you automatically.
Advanced Selections with Channels
When clean paths are impossible—such as isolating a detailed tree with thousands of small leaves against a bright sky—channels will save your project.
By opening your Channels panel, you can look at the Red, Green, and Blue data layers individually to find the specific channel that offers the highest amount of contrast. Duplicate that specific channel, boost the darks and lights using the Levels tool ($Ctrl+L$ or $Cmd+L$), and convert that stark black-and-white silhouette into a perfect, custom selection mask.
Flawless Skin and Real Texture: Advanced Photoshop Retouching
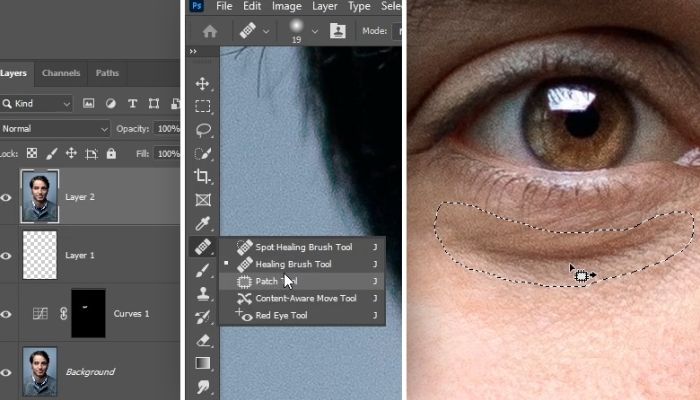
In commercial portrait photography, over-processed retouching ruins good images. We see it everywhere: plastic skin texture, blurry faces, and completely lost details. High-end, advanced Photoshop retouching should look totally invisible to an audience. Your goal is to erase temporary imperfections while keeping every single natural pore and skin detail intact.
The industry-standard approach to achieving this look is a workflow called "frequency separation." This method splits your digital image into two completely separate working layers: one dedicated solely to colors and tones, and the other dedicated entirely to fine textures.
Original Image
   ├── High Frequency Layer (Texture, Pores, Fine Lines, Hair)
   └── Low Frequency Layer  (Colors, Shadows, Highlights, Skin Tones)
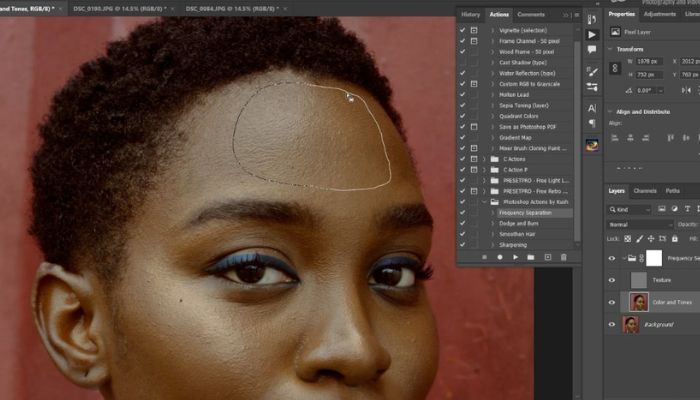
Setting Up Frequency Separation Step-by-Step
- Make two exact duplicates of your original image layer. Name the very top copy. High Frequency and the middle copy Low Frequency.
- Hide the high-frequency layer for a moment. Select your low frequency layer.
- Choose
Filter > Blur > Gaussian Blur. Pick a pixel radius where the sharp skin texture just barely fades away, but the overall shapes and skin tones stay completely visible. This is typically between 2 and 6 pixels. Click OK. - Make the high-frequency layer visible again and select it.
- Choose
Image > Apply Image and matchyour dialogue box settings exactly to the table below based on your document bit depth.
| Setting Panel | For 8-Bit Documents | For 16-Bit Documents |
| Target Layer | Select your "Low Frequency" layer | Select your "Low Frequency" layer |
| Blending Mode | Subtract | Add |
| Opacity Level | 100% | 100% |
| Scale Value | 2 | 2 |
| Offset Number | 128 | 0 |
| Invert Box | Leave unchecked. | Check the Box |
Your image will look completely unchanged on your screen. However, you now hold complete control over the file structure. If you want to smooth out uneven skin tones, you can blend the colors on your low-frequency layer using a soft mixer brush. If you want to clear a temporary blemish, use the Clone Stamp tool directly on your high-frequency layer without changing the skin tones underneath.
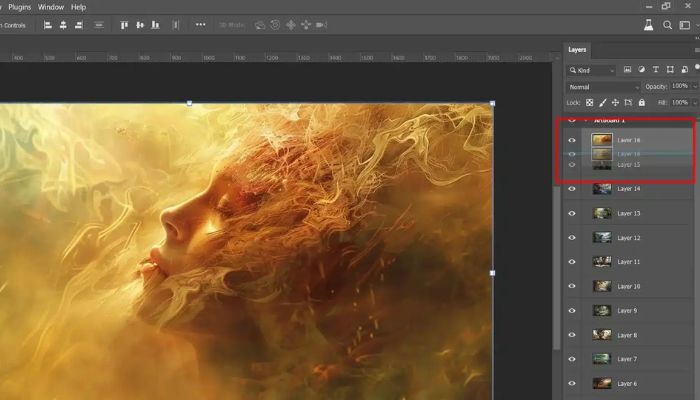
Blending Worlds: A Comprehensive Photoshop Compositing Tutorial
Compositing involves combining completely different images into one believable environment. The most common mistake intermediate creators make is forgetting how light, perspective lines, and color temperatures interact between separate source files.
To build a composite that feels completely real, you must follow a disciplined order of construction.
1. Align Perspective and Scale
Before you alter colors or tweak lights, you must align your horizons. If your background image was shot from a low camera angle looking upward, your new subject must share that identical physical point of view. If your perspective lines do not align perfectly, the human eye instantly spots the mistake, even if your color choices are beautiful.
2. Match Light Direction and Shadow Quality
Analyze the existing shadows in your background photo. Are they dark and sharp, indicating direct afternoon sunlight? Or are they incredibly soft and faint, indicating an overcast sky? You must match the light source on your subject to match the ambient environment.
Pro Tip: If the direction of light on your subject comes from the wrong side of the frame, flip the subject layer by selecting
Edit > Transform > Flip Horizontal. Just make sure this change does not warp recognizable text or facial markings.
3. Master Photoshop Advanced Layer Techniques for Seamless Blending
To merge everything together seamlessly, you must unlock advanced Photoshop layer techniques. This process means moving past basic opacity sliders and using clipping masks, custom blend modes, and the powerful Blend If sliders.
The Blend If options live at the bottom of your layer style panel. You can open this by double-clicking any layer. This tool lets you force specific areas of your active layer to disappear based on the brightness values of the layers sitting directly beneath it.
- Splitting the Sliders: Hold down the
Altkey (Windows) orOptionkey (Mac) while clicking and dragging the blend-if triangles. The small triangle will split right down the middle. This creates an incredibly smooth transition zone instead of a harsh, jagged edge. - Creating Atmospheric Depth: When you place an object or character deep into a foggy background, use the Blend If sliders to let the background highlight colors bleed naturally through the edges of your subject. This perfectly mimics the look of real-world atmospheric haze.
Ultimate Control: High-End Photoshop Retouching and Grading
Once your composite layers are locked down or your raw portrait file is cleaned up, you enter the final artistic phase: color grading and global shaping. This is the exact step where high-end Photoshop retouching makes an image pop.
Non-Destructive Dodging and Burning
Dodging means lightening areas of an image, while burning means darkening them. This workflow allows you to sculpt your subjects manually, add deep three-dimensional form, and guide a viewer's eye directly to your focal point.
Instead of using the destructive, basic Dodge and Burn tools directly on your original layers, use this pro setup:
- Create a blank new layer and fill it entirely with 50% gray by going to
Edit > Fill > 50% Gray. - Change that specific layer's blend mode to Overlay or Soft Light. The flat gray color will vanish from your screen.
- Grab a soft round brush set to an incredibly low opacity—between 1% and 3%. Paint gently with white to dodge areas and paint with black to burn areas.
- This preserves your base pixels perfectly. If you make a mistake, simply paint back over the spot with a 50% gray color to reset that area to normal.
[Color Grading Layer - Color Balance / Curves]
       └── [Dodge & Burn Layer - 50% Gray / Soft Light]
               └── [Frequency Separation - High Texture]
                       └── [Frequency Separation - Low Colors]
                               └── [Base Composite / Background Elements]
Harmonizing Your Final Colors
Different source images carry different color profiles. To fuse them together into a single, believable world, place a gradient map adjustment layer at the very top of your master layer stack.
Pick a dual-color gradient that fits the emotional mood of your artwork—for instance, a rich navy blue tone for your shadows and a soft cream tone for your highlights. Switch the blend mode of this gradient map layer to Soft Light or Color, then drop the layer opacity down low, anywhere between 5% and 15%. This subtle color wash instantly ties every separate asset together under a single, unified color palette.
Behind the Canvas: Meet the Creator
This comprehensive guide was built by a commercial digital artist and professional retoucher with over ten years of active industry experience. Having designed large ad campaigns, magazine covers, and intricate digital matte paintings, I have spent thousands of hours examining pixel structures and mastering the deep mechanics of Adobe Photoshop.
The advanced systems shared across this article are not academic ideas. They are the exact, daily workflows used by high-end creative studios worldwide to deliver flawless, ultra-high-resolution files to global brands. Keep practicing these core methods and pay close attention to real-world physics, and your digital artwork will transform dramatically.
Frequently Asked Questions
What separates basic editing from high-end Photoshop retouching?
Basic editing solves quick problems. It covers things like removing obvious stray marks, whitening teeth, and making global adjustments to contrast. High-end retouching focuses on preserving the underlying structure of an image, maintaining every skin pore and fabric weave using manual tools like frequency separation and precise, low-opacity dodging and burning. It requires more patience but yields beautiful, natural results built for large-scale print.
Why do my subjects look out of place when moved to a new background?
This problem almost always stems from a mismatch in light direction, camera perspective, or color temperature. If your background photo shows a golden hour sunset but your subject was shot under cool, white studio softboxes, they will look separated. You must use targeted adjustment layers, draw accurate contact shadows, and leverage features like Blend If to make the elements blend realistically.
Why should I use Channels rather than automated selection tools?
Automated selection features work wonderfully on simple shapes and stark backgrounds. However, they consistently fail around fine details like loose hair, animal fur, transparent surfaces, and heavy motion blur. Channels let you tap into the raw contrast data built right into the photo, allowing you to extract a perfect, custom-tailored mask that keeps those delicate edge details clean.
Does the Frequency Separation workflow damage my original photo?
Not at all, as long as you build the structure on separate duplicate layers. Always keep your original, untouched source image locked securely at the very bottom of your layer stack. If you ever feel you have pushed the texture work or color blending too far, you can easily lower the opacity of your correction layers or delete them entirely to reset your canvas.