Welcome! It is thrilling to hold a camera in your hands. It even may be somewhat tiresome with all those buttons and settings. This guide is here to help. Imagine it is a map of your new adventure that your friend has given you. We shall talk over the very first things to know. By the conclusion, there will be a definite, beautiful picture that will be easy and fun to take.
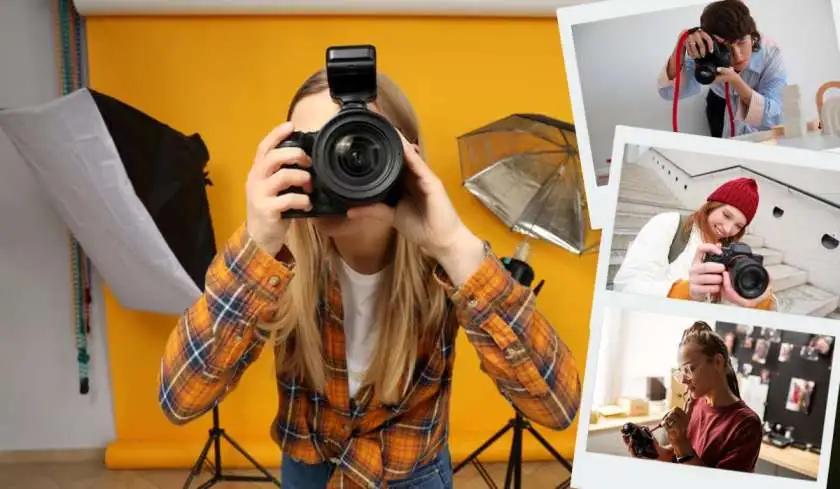
We shall begin with the most significant concept. It is the individual who is in charge of the camera making great photos and not the camera. Anyone can become anything with practice. This is a tutorial photograph for beginners that will discuss the easy secrets of professionals.
Getting to Know Your Camera
Your camera is not that bad, it is alright that you find it confusing at the moment. We will break it down.
What is an Aperture?
Look at your camera lens. The eye is similar to the pupil. It is a tiny aperture which opens and closes. Huge openings (a wide aperture) allow much exposure. It also renders the background to be nice and blurry. This muddiness is referred to as shallow depth of field. A small hole (a "narrow aperture") admits less light. It retains a greater part of the image, front to back.
You may also read :- Setting Up Your Nikon Z8 Camera
Understanding Shutter Speed
Shutter is a small curtain within your camera. It is like a picture, when you take a picture, it opens and closes. The duration of time that it remains open is known as the shutter speed. A high rate such as 1/1000 th of a second halts motion. It would suit a jumping dog or a running kid. Slow speed such as 1/10 th of a second allows more light to pass through but may produce movement blur. This is called motion blur.
Figuring Out ISO
The sensitivity of the sensitive part of your camera is controlled by ISO. You increase the ISO in a dark room in order to see better. On a sunny day, you turn it down. But there is a trade-off! Grainy, or noisy: This effect is produced by a high ISO. The secret is to have the lowest ISO you can with the light that you have.
Tutorial Photograph for Beginners: The Big Three Settings
These three concepts, aperture, shutter speed and ISO, are combined. These are referred to as the Exposure Triangle. The alternation of one influences the rest. The aim is to make them balanced to have a shot which is neither too dark (under-exposed) nor too bright (over-exposed).
E.g. you wish to capture fast action (such as a bird flying), you will select a high shutter speed. To compensate the fast shutter that is allowing less light to pass through, you may have to go ahead and open your aperture or increase the ISO.
Mastering Basic Photography Techniques
At this point we shall apply those settings using some simple tricks.
The Rule of Thirds for Better Pictures
Suppose that your camera screen has a grid of tic-tac-toe on it. There were two up and down lines and two across ones. Attempt to have the most interesting section of your photo in the cross roads of these lines. On a top crossing point lay the eyes, to present a picture of a person. With a sunset place the horizon either on the bottom or top line. The trick is this simple and makes photos to look balanced and interesting. It is one of the most important components of learning photo composition.
Finding the Best Natural Light
Everything around photography is light. The early mornings and the evenings are usually the time of best light. The sun is low and soft. It generates long soft shadows. This is called "golden hour." Attempt to take a portrait of a friend at this time. Watch how beautiful the warm light does it all seem? Strong shadows can be made by harsh midday sun, and they are unflattering.
How to Hold Your Camera Steady?
Camera shake usually causes blurry photos. Two handed camera holding. Bend your arms into your ribs. Keep your feet placed at a distance of shoulder. In case your shutter speed is becoming slow, lean against a wall or lay your camera on a surface that is not moving. This is the simplest mode of acquiring sharp images as a beginner.
Simple Camera Settings for Beginners
There is nothing to hurry and know it all. Start with these easy modes.
Try Aperture Priority Mode (A or Av)
The aperture is selected by you and the correct shuttering speed is selected by the camera. Wish background of a flower was blurred? Choose a wide aperture (like f/2.8). Desire that everything in a landscape sharp? Select a small opening (f/11). This mode allows you to exercise artistic control of the camera and this is an ideal way to practice the basics of the camera.
Try Shutter Priority Mode (S or Tv)
It is up to you to decide what the shutter speed is and the camera chooses the aperture. Use this for action! In order to freeze a soccer player, use a high speed (such as 1/1000s). A waterfall should be made to appear silky: this is done by a low speed (such as 1/2 second)--simply place the tripod!
Practicing Your New Photography Skills
The most effective methods of learning are through action. Assign yourself little fun tasks.
A Day of Shapes and Colors
Go for a walk. Do not attempt to get ideal photographs of panoramas. Rather, seek uncomplicated things. A bright red door. The shape of a bicycle wheel is round. A pattern of shadow on stairways. Get 10 pictures having nothing to do with content. This would give your eye a photographer training.
The Portrait Challenge
Request assistance of a family member or friend. Get some light in window somewhere. Have them sit near the window. Focus on their eyes. Try the Rule of Thirds. Have them pose with the camera and be smiling. Then get one where they are gazing out of the window thinking. Look at the various examples you can give?
Common Beginner Mistakes and Easy Fixes
All people commit these errors. It is how we learn!
- The Fuzzy Photo: This is normally an image of a shutter speed that is too slow to be held by hand. Fix: Shoot with a higher shutter/ better stabilization.
- The Too-Dark Subject: This occurs when your camera measures a bright background such as in the case of a sunny window. Fix: Relocate, do not have the bright light right behind your subject.
- The Busy Background: A busy background distracts your subject. Fix: Reposition your subject or alter your point of view. Find a blank wall or a foggy background.
Editing Your First Photos: A Simple Start
Editing is the sprinkling of magic dust. You will not require any fancy software to begin with. Get using free applications in your phone or computer. Just do three things:
- Brightness Adjustment: It is necessary to ensure that the photo is not too light or too dark.
- Make Colors Slightly Brighter: Add a little more "Vibrance" or "Saturation" to the colors.
- Lighten: Add a small portion of sharpening to populate details.
A good photo can be made to look spectacular by this easy amateur photo editing.
A Final Word of Encouragement
Keep in mind, that all photographers began at the point where you are. This has been said by the well-known photographer Ansel Adams who once said, You do not take a photograph, you create it. This is wonderful advice. It is the creativity and decisions that are the most important.
Carry your camera often. See the surrounding world with wondering eyes. follow these easy tips of this tutorial photograph for beginners. You will soon not take snapshots you will make beautiful photographs.
Frequently Asked Questions
Q: Which is the most suitable camera in the hands of a beginner?
A: the most important camera is the one that you have. The best place to begin learning composition and light is a modern smartphone. An entry-level DSLR or mirrorless camera is a good purchase in case you desire a dedicated camera.
Question: What is the best way to stop having blurry pictures?
A: Make sure your shutter speed is high (such as 1/125th of a second or more when holding a camera). Use the camera without shaking, and work on keeping the shutter button light.
Q: What does the "focus" mean?
A: It is focus that renders part of your photo sharp. Generally, it is that you tend to pay attention to what is most significant to you such as the eyes of a person. Your camera has autofocus system, where you can half-press the shutter button and the camera will focus then take the picture.
Q: What is the number of photos I should make to have one good photo?
A: It is through numerous photos that professional photographers take before coming up with a perfect shot. You need not be afraid of taking a lot of pictures. Work with various angles and settings. All these are the learning process.