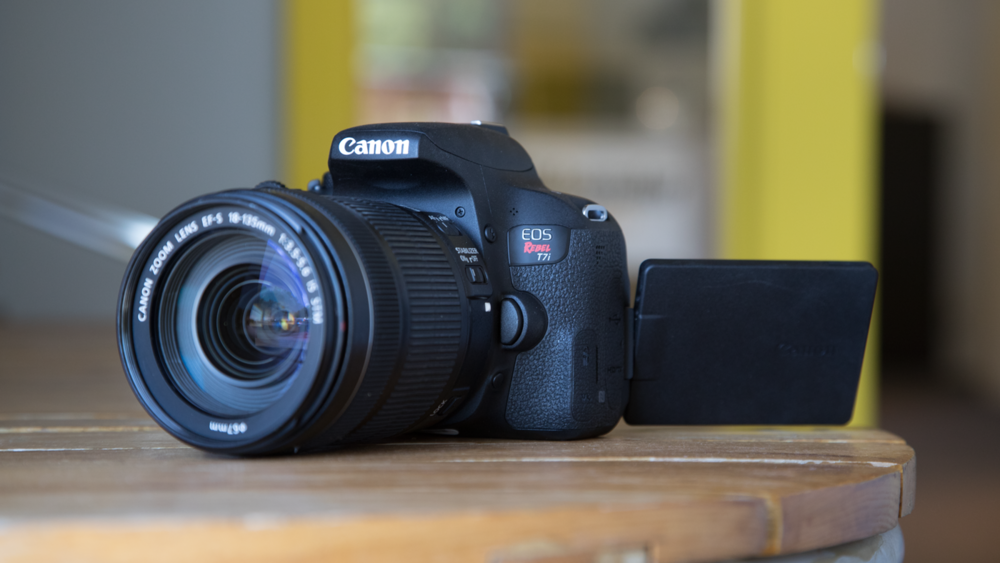
A lot of photographers who use Canon Rebel cameras like the Canon T7i (AKA the Canon 800D) worry about setting their camera correctly. Even though these are “entry level” DSLRs, they still have a complex menu system for photographers who have never seen it before. So, in this article, I have gone over every camera setting on the Canon T7i to explain my recommendations. This way, you will make sure your camera is set correctly for whatever type of photography you want to do.
First, as you are probably aware, the Canon Rebel T7i / Canon 800D is arranged with a few different types of menus: shooting, playback, setup, display, and a custom “My Menu.” I’ll go through each one in order below:
Shooting Menu 1
- Image Quality: RAW (though many photographers in the target audience of the Canon T7i will shoot JPEG; see RAW vs JPEG for more)
- Image Review: 4 seconds (personal preference)
- Release Shutter Without Card: Off
- Lens Aberration Correction: Off for everything (assuming you are shooting RAW; if shooting JPEG, all On)
- Lens Electronic MF: Enable after One-Shot AF (lets you override focus manually on some lenses even when autofocus is engaged, which is useful)
Shooting Menu 2
- Expo.Comp./AEB: Default (you can change exposure compensation via buttons instead. But this is the only place to change bracketing settings, so keep it in mind if that’s something you see yourself changing)
- Flash Control options
- Flash Firing: Enable (so the flash actually fires when you pop it up)
- E-TTL II Meter: Evaluative
- Flash Sync Speed in Av Mode: Auto (don’t use Av mode if you need a more specific flash sync speed; use manual instead)
- Built-in Flash Settings
- Built-in Flash: NormalFiring
- Flash Mode: E-TTL II
- Shutter Sync: Second Curtain (to capture motion prior to the flash properly)
- Exposure Compensation: Varies, but leave at 0 by default
- Red-eye Reduc: Disable (enabling doesn’t help redeye much; post-processing correction is more effective)
- ISO Speed: Matches whatever ISO you’ve set already, via the ISO button on the top of the camera
- ISO Auto: ISO 1600, or ISO 3200 if you are willing to accept a bit more noise
- Auto Lighting Optimizer: Off
Shooting Menu 3
- Metering Mode: Evaluative
- Color Space: sRGB if you’re a JPEG shooter; doesn’t affect the photo itself if you’re a RAW shooter, but AdobeRGB for slightly more accurate in-camera histogram
- Picture Style: Standard, default values, unless you have a specific reason to change it (doesn’t affect the photo itself if you’re a RAW shooter)
- White Balance: Auto, White Priority (accessed by pressing the “Info” button)
- WB Shift/Bkt: 0,0/+-0
Shooting Menu 4
- Long Exp. Noise Reduction: Off, unless you are taking especially long exposures (20-30 seconds) and you don’t mind waiting twice as long to capture the photo. This one does affect RAW photos (see a list here of which settings do and do not affect RAW photos)
- High ISO Speed NR: Off (doesn’t affect RAW photos)
Shooting Menu 5
- Anti-Flicker Shoot: Disabled, unless you are taking pictures under fluorescent light and getting uneven exposures
- Aspect ratio: 3:2
- Live View Shoot: Enabled
Playback Menu 1
- No settings here to worry about
Playback Menu 2
- Only “Image Jump w/ Main Dial” matters here, and it’s a personal choice for how you want the T7i’s main dial to work in playback mode. How many photos do you want to jump across when you scroll the wheel once? I leave it at “Jump 10 Images” so I can scroll through large volumes of photos quickly. I then click the left and right arrows on the direction pad when I want to go one-by-one.
Playback Menu 3
- AF Point Disp: Disable (though this is another case of personal preference)
- Histogram Disp: RGB (more data)
- Ctrl over HDMI: Enable when you plan to review photos directly from the T7i on a TV screen or other HDMI medium
Set Up Menu 1
- Auto Rotate: On, Computer only (avoiding the “On, Camera and Computer” option, since it will make the photos too narrow on your camera and complicate taking vertical pictures on a tripod)
- Wireless communication settings: All disabled unless you’re actively using them due to potential battery life concerns
Set Up Menu 2
- Auto Power Off: 1 minute (another personal preference; how long do you want the monitor to wait without action before turning off?)
- LCD Brightness: Centered
- LCD Off/On Btn: Shutter/DISP (which lets you turn on the LCD info by pressing the “DISP” button, and turn it off via the DISP button or the shutter button. The other options make it harder to turn off the LCD more quickly, but this is still a personal preference.)
- Viewfinder Display: Hide all (personal preference)
Set Up Menu 3
- Video System: For NTSC
- Touch Control: Personally, I prefer “Disable” because I don’t like using camera touchscreens, but most photographers will prefer “Standard”
- Beep: Disable
Set Up Menu 4
- Custom Functions(C.Fn)
- Exposure Level Increments: 1/3 stop
- ISO Expansion: Off (no need for it, since the image quality is so bad)
- Exposure Comp. Auto Cancel: Enable (this resets your exposure compensation when you turn off the camera, which is generally useful to avoid shooting sunrise at last night’s settings; but also is a personal preference if you frequently turn on and off the camera and prefer your exposure compensation information to be saved)
- Highlight tone priority: Disable
- AF-Assist Beam Firing: Disable (personal preference, it can be obtrusive)
- AF Area selection method: AF Area Selection Button
- Auto AF Pt Sel.: Color Tracking: Enable
- AF Point Display During Focus: Selected, Constant (personal preference, but I like having this info)
- VF Display Illumination: Enable
- Mirror Lockup: Disable, although enabled if I’m shooting on a tripod with a 2 second self timer
Display Level Menu
- Shooting Screen: Standard (personal preference)
- Menu Display: Standard (personal preference)
- Mode Guide: Disable (but can help if you’re trying to learn how to use the T7i initially)
- Feature Guide: Disable (same, though – can help if you’re just learning the T7i)
My Menu
- A good place to group together all the menu settings you plan to change frequently, such as Auto Exposure Bracketing (AEB), ISO Auto, Long Exposure Noise Reduction, and Custom Functions
Movie Mode Settings (Same Menu Categories, but New Options)
The Canon Rebel T7i is set up so that you see a different menu depending upon whether you are shooting photos or videos, which you change by flipping the main switch on top of the T7i. Below, I will cover the menu settings that are most important while shooting video.
Shooting Menu 1, Movie Settings
- Movie Rec. Size: FHD 29.97P, unless your output requirements specify 23.98 FPS. Use FHD 59.94P if you need slow motion.
- Digital Zoom: Disable
- Sound Recording: Auto (this only controls the in-camera microphone regardless)
- Wind Filter: Auto
- Attenuator: Disable
- Lens aberration correction
- Peripheral illum corr: On
- Chromatic aberr correction: On
Shooting Menu 2, Movie Settings
- ISO Speed: Matches whatever ISO you’ve set already, via the ISO button on the top of the camera
- ISO Auto: Max 6400
Shooting Menu 3, Movie Settings
- Picture Style: Being video, this decision is hard to undo in post-processing, especially if you choose a more vibrant and contrasty Picture Style. When in doubt, opt for something subtle like Faithful, Neutral, Portrait, or Standard
- White Balance: Auto, White Priority (accessed by pressing the INFO button)
Shooting Menu 4, Movie Settings
- Movie Servo AF: Disable (unless filming a subject with unpredictable movement requiring faster focus than you can keep up with manually)
- AF method: Live 1-point AF, or Face + Tracking if you’re filming a person’s face
- Metering timer: 1 minute (personal preference)
- Grid Display: Off
- Shutter Button Function: Personal preference, but I like the last option: Half-Press for Metering Only, Fully-Press for Start/Stop Mov Rec (which starts filming when I press the shutter button in movie mode)
Conclusion
I hope that the recommended camera settings in this article will help you select the best possible menu options for your Canon Rebel T7i! If you have any questions about the reasons why I recommended one camera setting rather than another, or if you want clarification on something else about the Canon T7i, feel free to comment below.