Ayran Oberto, an artist, has long been interested in exploring Photoshop painting techniques. The goal behind the artwork is to create a feminine picture with a feeling of unpredictability, one that encourages errors. Oberto's lines, which he acknowledges are "always flawed," result in traits that the artist finds especially appealing: big lips, wide eyes with long eyelashes, little pointed noses, and hair that flows in all directionsOberto's lesson provides a comprehensive overview of his approach, which may be replicated using Photoshop. You may download and use free Photoshop brushes.
This course will explain Oberto's whole procedure. He'll explain how he develops numerous drawings before deciding which one to use; at this point, Oberto's main goal is to avoid sketching the same viewpoint. He searches for natural head angles that enable the character's gaze to flow logically toward the spectator.
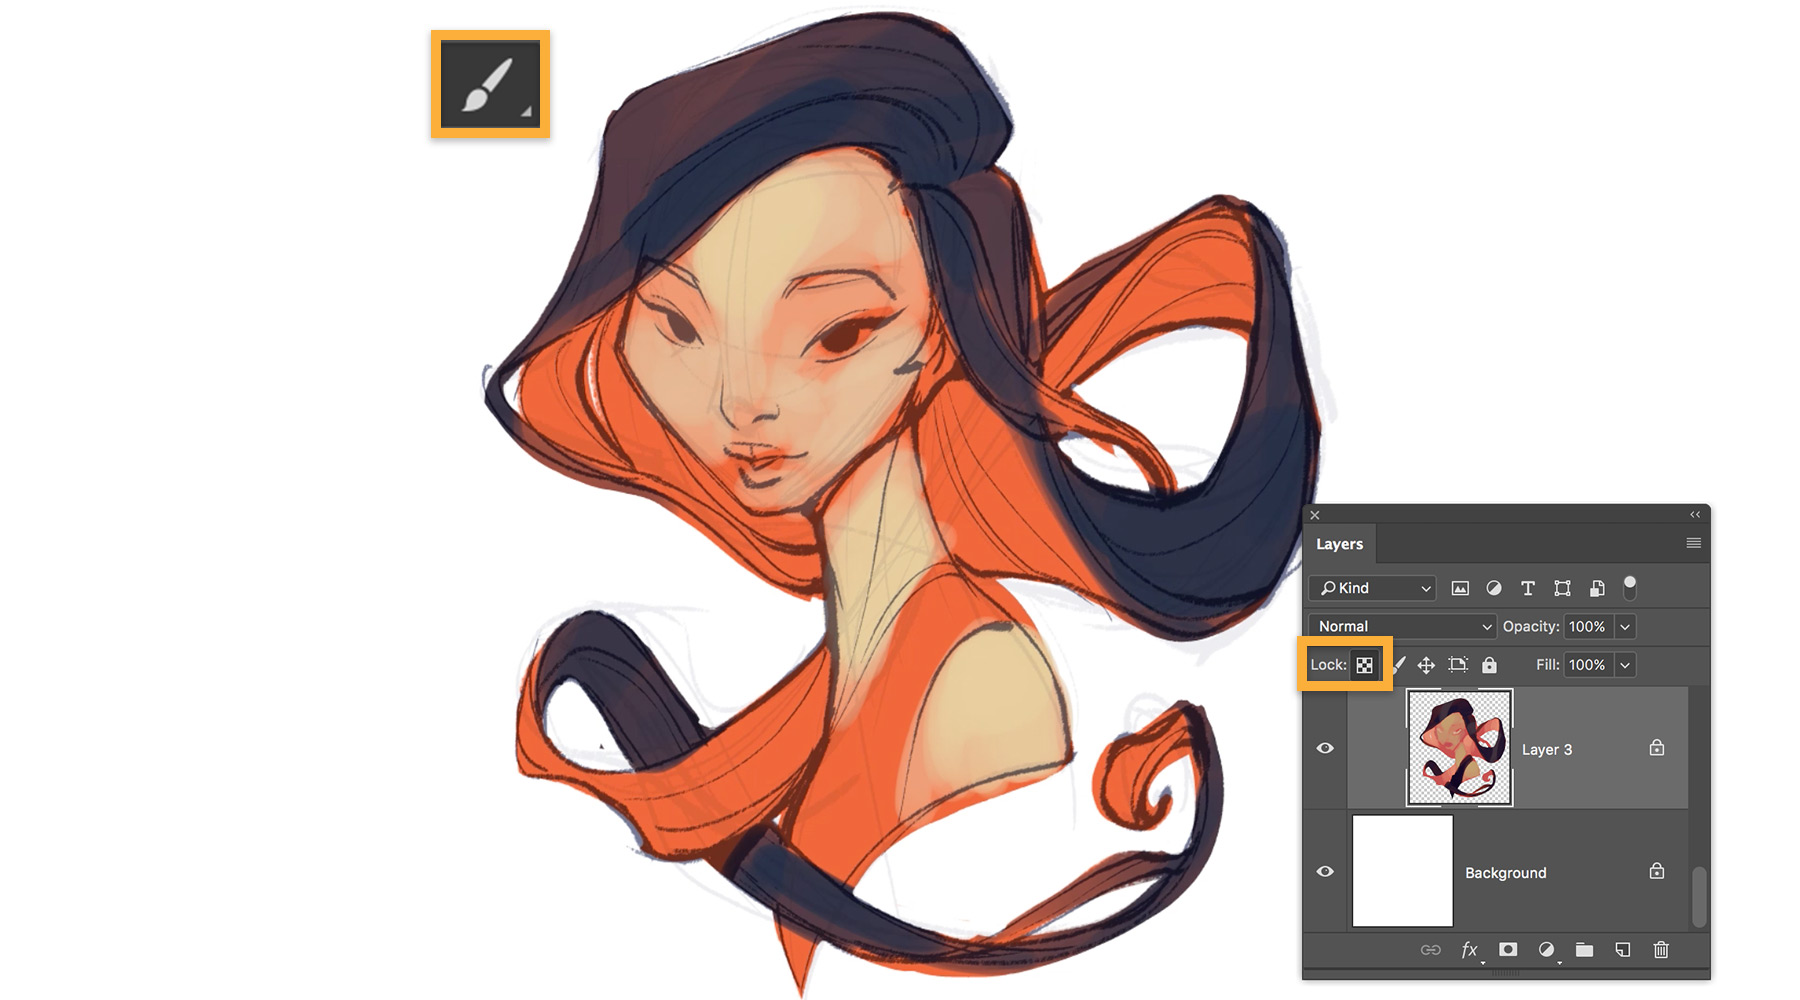
Oberto strives to offer the drawing with the strongest composition the biggest visual impact by employing color. During this stage, he uses several Photoshop techniques to create a feeling of chaos. He blends effects that seem to be blunders at first glance, but with a little vision, may lead to possibilities at the conclusion of the painting process.
Once the colors are chosen, Oberto demonstrates how he spends time uncovering the picture, using design guidelines that allow him to disclose appealing forms in each region, which are progressively improved throughout the painting.
Watch Ayran Oberto's Photoshop process here…
Now, read on to discover how Ayran Oberto creates his beautiful Photoshop art in his words…
01. Sketch the ideas
It all starts with the sketch. A few key words spark ideas and help me write this workshop. My aim is to create different angles of a female head using my visual and muscular memory, and give the viewer the sensation that they’re being observed.
02. Wrap lines over my sketches
As I work on the sketches, I create geometric shapes using lines that seem to surround them. I need to visually feel the shapes and how they change direction, which is dictated by the general angle of the face. With these geometries I seek to create features that attract me – the thick lips, refined nose and large eyes that I mentioned earlier.
03. Find the light spots

To construct a lighting scheme I believe that the best method is to center the light so that all of the features of the face may be seen in depth. I don't want the face to be hidden in darkness. To improve the silhouette even further, I create a second light that lightly touches the edge of the face.
04. Form shadows everywhere
With the light already created, I have an idea of how to shade utilizing a more central light source. I concentrate on making form shadows for any geometric forms. One benefit of the center light source is that it does not cast significant shadow projections, resulting in seamless transitions over the face.
05. Explore the colour options
For this stage, I go to Layer > New Adjustment Layer > Curves. I use Alt+2, Alt+3, Alt+4, and Alt+5 to switch between channels and modify the curve as desired, resulting in color splits. Next, I double-click this Adjustment layer to see how much it blends with the one below using the Layer style>Blending settings menu.
06. Create a variety of colours
I focus on identifying the potential of each of the results from the previous step. Using the Color Picker, I select the colours that emerged and bring them to other areas of the face by applying brush strokes and taking each of the options in slightly different directions.
07. Combine the ideas
The art editor likes two colour options: one with a yellowish-blue palette and the other one with a more saturated skin tone. I place the saturated option on a layer beneath the other option and erase the face of the layer on top. This reveals the saturated face and achieves the best combination of the two options.
08. Let the game begin
The colour option has already been approved and I’m still aware that there are many errors that I must correct to bring the image to its maximum expression. The most difficult stage has been overcome and now I can start jumping in all directions. I fix and give definition to all the chaos that’s still present in the image.