The Luminosity Mask is a really great tool to use when it comes to retouching landscape, cityscape as well as portrait. It gives you more freedom when you use different tools in Lightroom and you will see it is awesome!
Now let me show you how it works.
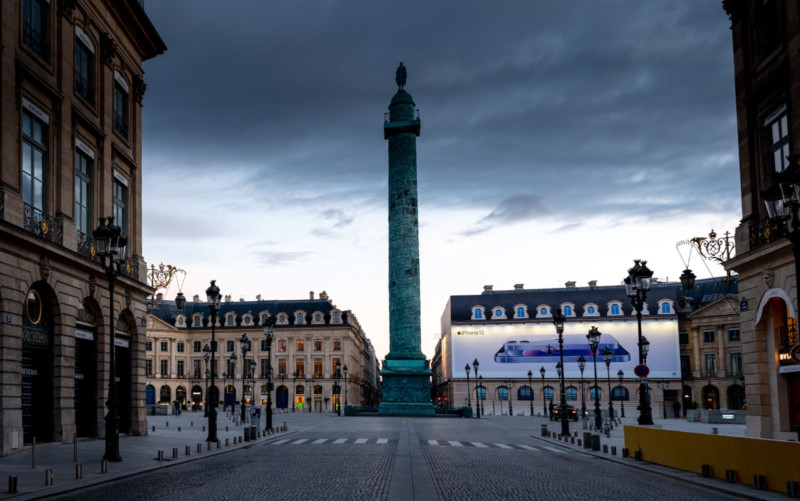
I did a basic retouching on this lovely photo taken in Paris, Place Vendôme. And now we are going to use a graduated filter and lower the exposure to have a more dramatic sky. When you do that, every element is affected by that filter, meaning your buildings or subjects will also be darkened, which is not very realistic:
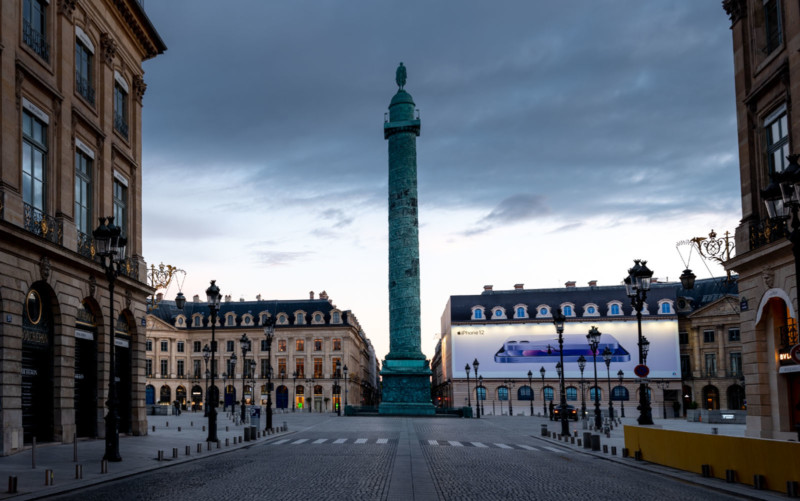
This is when the luminosity mask comes in handy to remedy that weird effect. Press the option key (or if you are on a PC the alt key) and go to Range Mask > Luminance now you will see by dragging the slider that it will play the role of a mask so white reveals and black conceals meaning everything that will appear in black will not be affected by your graduated filter and you will have a much more natural look:
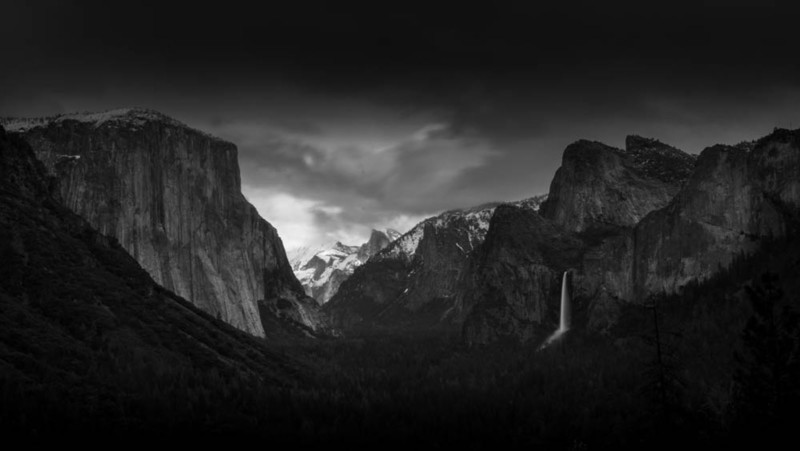
Let me show you another example with a black and white photo from Yosemite.
I will show you the graduated filter without the luminosity mask so you can see how it is affecting the mountain and create an odd over retouched effect:
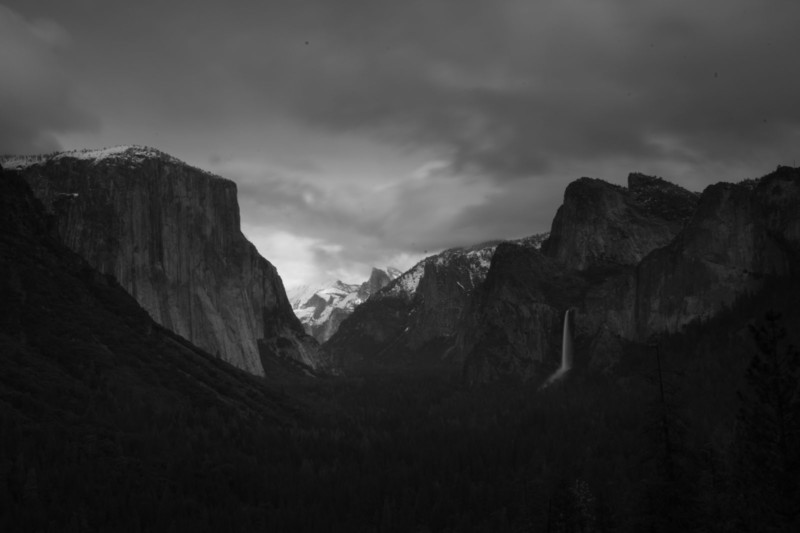
Here is the photo after with the Luminosity Mask, range at 69/100. I also added another graduated filter at the very top to add drama to the sky. This is truly a great tool to have more control over what your tools are affecting. This is the result after some retouch:
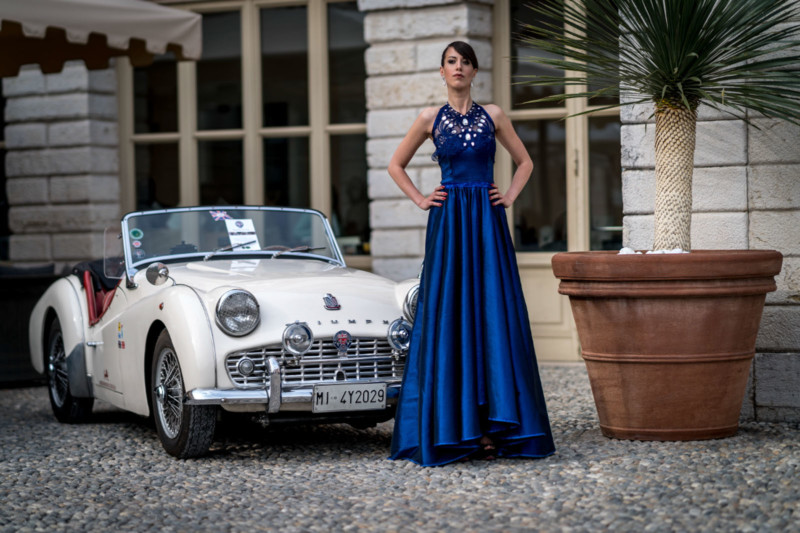
Now the last example is a completely different way to use the luminosity mask. We are going to use it to change the color of only one element. Here is a portrait I took in Italy during a fashion show. You can see the color of that dress is quite strong and only in a few clicks we will change the color entirely.
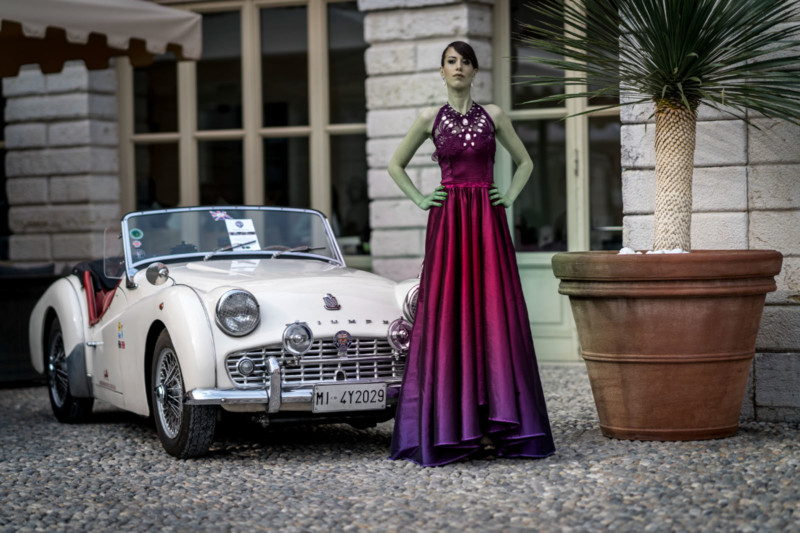
Let’s use the radial circle for this one. You can create a circle around the object you want to change the color of. Then you can use the hue to determine the color you want for your object. Once you are there you must wonder where I am going with this given that my model is now green and the dress is not the same color everywhere.
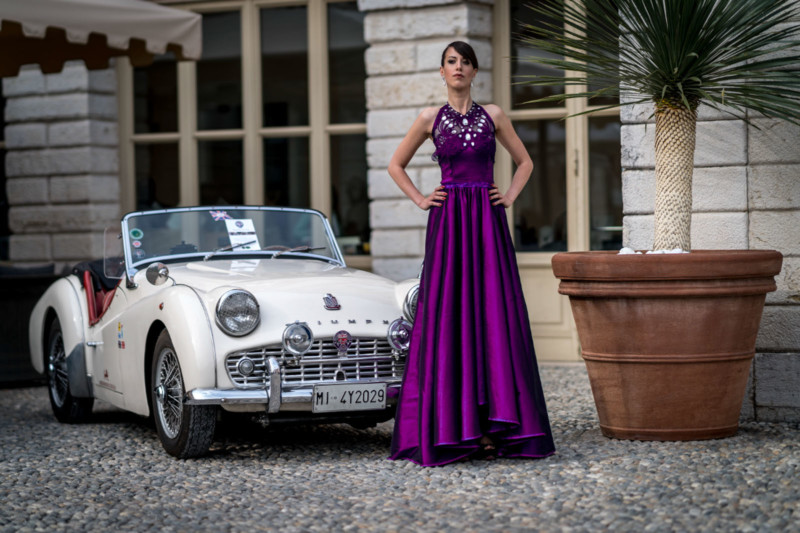
First, you need to unfeather your circle, and then it is time to use the luminosity mask. Range Mask Color this time. Using the target tool you can select the exact object and the mask will now only affect the dress! From this point, you can modify the hue and only the dress will be affected. Pretty cool effect!
So there you go: different ways to use the luminosity mask in Lightroom classic. It’s a very powerful tool and is quite fun to use because you feel less limited and can create much more!
About the author: Serge Ramelli is a landscape and fine art photographer who has published numerous books on the subject. His fine art photography has been sold in one of the largest gallery networks in the world. Ramelli hosts a YouTube Channel where he teaches photography and editing techniques which you can subscribe to here.