Learn how to easily put an image or texture right into a layer mask in Photoshop! A step-by-step instruction for Photoshop 2023 and before.
Copying a picture from one Photoshop project and copying it into another is simple. Photoshop sets the picture on its own layer, which is normally what we like.
However, putting a picture directly into a layer mask is not as straightforward. At least not until you've mastered the one easy approach I demonstrate in this article. I also show you a number of easy techniques to modify the image's contrast after pasting it into the mask, which may significantly affect the strength of the effect.
Which Photoshop version am I looking for?
I’m using Photoshop 2023 but this applies to any recent version. You can get the latest Photoshop version here.
The setup of the document
To show how to paste an image into a layer mask, I'll first build a layer mask on a type layer and then paste a texture picture into it. However, similar techniques may also be applied to pixel and form layers.
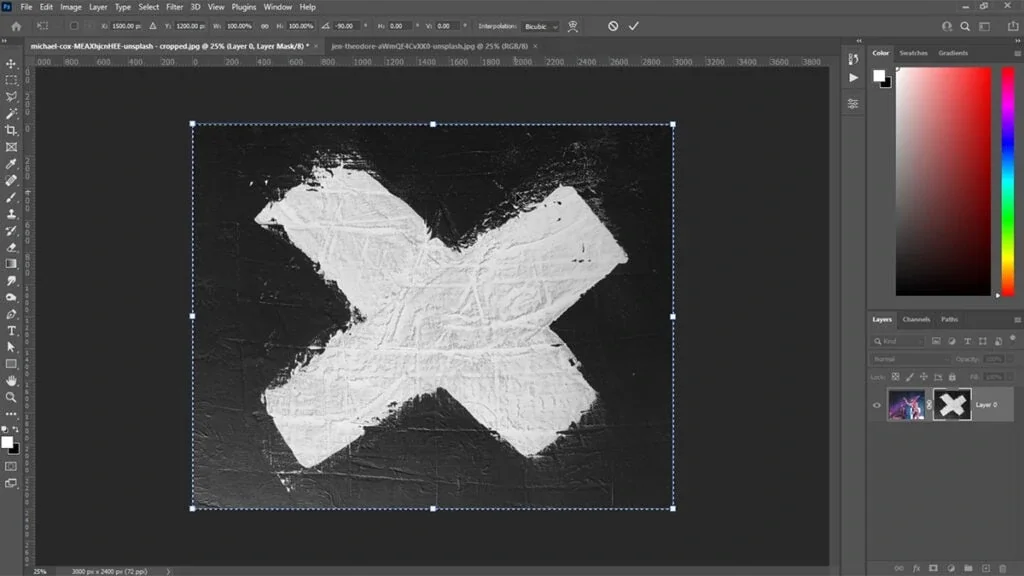
The texture picture I'll use is open in its own document.

The image that will be pasted into the layer mask.
And here's the document with my text. It's just a simple type layer above a background image.
The image will be pasted into a layer mask on the type layer.
Let's get started!
Step 1: Add a layer mask
First we need to add a layer mask. Since I'm adding the mask to my type layer, I'll click on the type layer in the Layers panel to select it.

Selecting the layer.
Then add the mask by clicking the Add Layer Mask icon at the bottom of the Layers panel.

Clicking the Add Layer Mask icon.
A layer mask thumbnail appears on the layer.

The layer mask thumbnail.
Step 2: To paste an image into the layer mask, open it.
Next we need to open the image we're going to paste into the mask.
In my case, the image is already open in its own document so I'll switch to the document by clicking its tab at the top.

Switching to the document that holds the image.
Step 3: Select and copy the image
We need to move the image into our main document (the one with the layer mask). And an easy way to do that is to copy and paste it.
Select the image by going up to the Select menu and choosing All.

Going to Select > All.
Then copy it by going up to the Edit menu and choosing Copy.

Going to Edit > Copy.
Step 4: Return to the main document.
With the image copied, switch back to your main document by clicking its tab.

Switching back to the main document.
Step 5: Change your view to the layer mask
Pasting the picture into the document (via Edit > Paste) would result in the image being placed on its own layer, which is not desired.
Instead, to paste into a layer mask, first switch your view in the document to the layer mask itself.
To accomplish this on a Windows PC, hold the Alt key. On a Mac, hold the Option key. Hold the key down and click the layer mask thumbnail in the Layers window.
Holding Alt / Option and clicking the layer mask thumbnail.
Notice that my view has changed from my text to the layer mask. It looks like we're viewing a plain white background but that's because the mask is currently filled with nothing but white.

Viewing the layer mask in the document.
Step 6: Paste the image into the layer mask
Now that we're viewing the mask, we can paste our image into it by going up to the Edit menu and choosing Paste.

Going to Edit > Paste.
It may look like we've just pasted the image into the document.

The result after pasting the image.
But we know it was pasted into the layer mask because we can see the image in the layer mask thumbnail.

The mask thumbnail showing the pasted image.
Step 7: Resize the image inside the mask
Before switching out of the layer mask and back to the main view, resize the image inside the mask if needed.
To resize the image, go up to the Edit menu and choose Free Transform.

Going to Edit > Free Transform.
This places transform handles around the image. But in my case, because my image is larger than the document it was pasted into, most of the handles are outside the visible area of the canvas.