When you first launch Adobe Photoshop, you may find yourself clicking about in uncertainty for a minute before reaching for your freelancer's phone number. Trust us, you are not alone in this.
It's an immensely sophisticated design program with a lot going on, including a plethora of options that might be intimidating at times. But Photoshop isn't just for experts.
With a little guidance, you can quickly educate yourself how to utilize it to make visually appealing images. It just needs an introduction to the essential principles in simple English.
To get you started, we've selected 12 of Photoshop's most helpful tools and described what they do, where you can find them, how to use them, and a few tips and techniques for getting the most from them. We've also included some helpful resources in case you want to learn more about a certain tool.
1. The Layer Tool
Layers may include images, text, brush strokes, background colors, patterns, and filters.
I prefer to think of layers as sheets of glass piled on top of one another to produce a finished object. Each sheet may be edited independently without impacting the project as a whole, saving you a lot of time when making changes to certain components of your image.
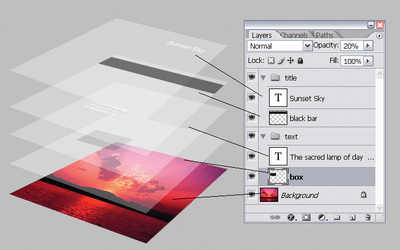
Layers are by far the most crucial aspect of Photoshop, and I believe they are one of the reasons why many users get frustrated. But if you grasp how they function, I guarantee they'll make your life a lot simpler.
Where It is Located: It has its own module that appears in the bottom right corner of your Photoshop screen by default. You may also access it by selecting "Layer" from the top menu bar.
Pro Tip: Always name your layers. Keeping them organized will help keep you sane, especially if you find yourself working on a project with a large number of layers.
To add or delete a layer:
From the top menu bar, choose Layer > New > Layer...
To select a layer:
The selected layer is highlighted in blue. To edit a specific part of your image, you'll need to select that specific layer.
You'll also notice there's an "eye" symbol next to each layer: Click that symbol to turn the eye on and off, thereby toggling the visibility of that layer as you work.
To duplicate a layer:
First, select a layer or group in the Layers panel. Next, either drag the layer or group to the Create a New Layer button, or right-click the layer to choose "Duplicate Layer" or "Duplicate Group." Enter a name for the layer or group, and click OK.
Pro Tip: You can do all sorts of cool things with layers -- and believe it or not, making animated GIFs is one of them. Check out our step-by-step tutorial here.
To learn more about adding, deleting, and duplicating layers in Photoshop.
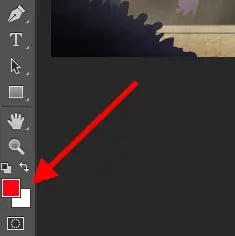
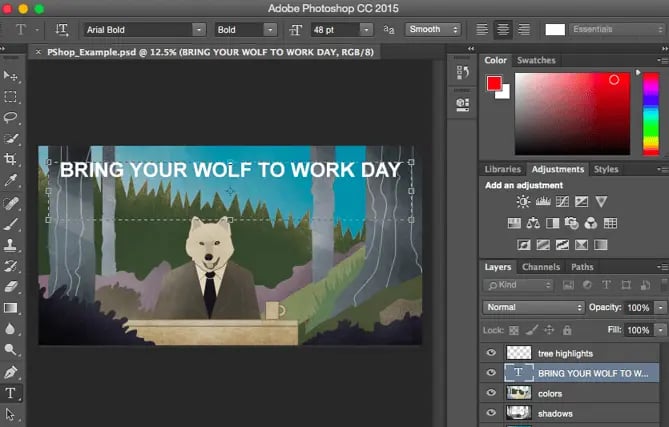
2. The Color & Swatches Tool
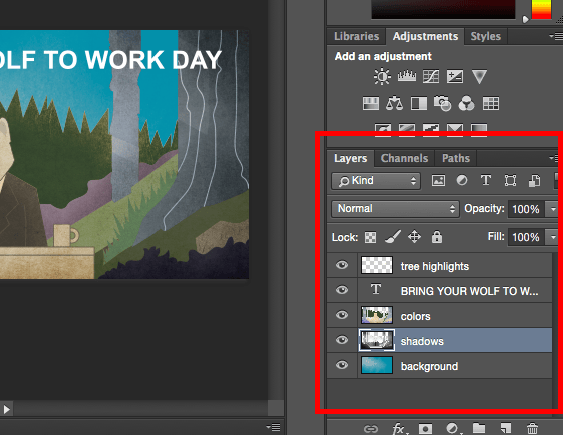
What It Does: The Color and Swatches tool lets you use, modify, copy, and save custom colors for your content. While this may seem like a pretty self-explanatory element, it actually has powerful features that will keep your visual content vibrant and unify your color schemes.
Where It's Located: It has its own module on the top right-hand corner of your Photoshop screen, by default.
Another place to find the Color tool is at the bottom of the toolbar on the left, indicated by two overlapping boxes:
To create your own custom color:
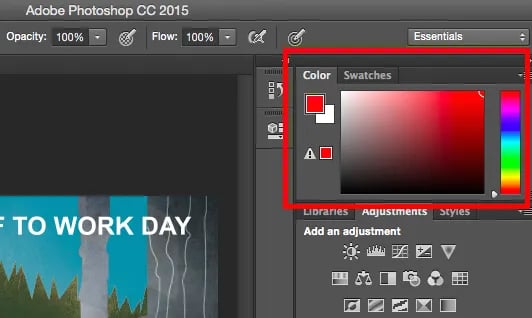
Open the Color Picker by double-clicking on the top box either in the Color module, or in that menu on the left.
From there, you'll see a vertical spectrum of color with a slider on it, which you can adjust to create your own custom color. Alternatively, if you already have a specific color of which you know the hex value (i.e. #1fb1ee), then enter it in the appropriate box to find that color automatically. You can also select your color swatch based on RGB or CMYK values.
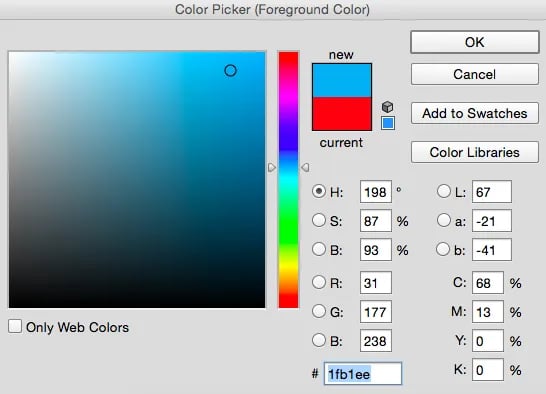
Any colors you create can be added to your "Swatches" if you click "Add To Swatches."
Pro Tip: Take your company colors and save them as “Swatches” so that you can reference and reuse them whenever you’re designing your visual content.
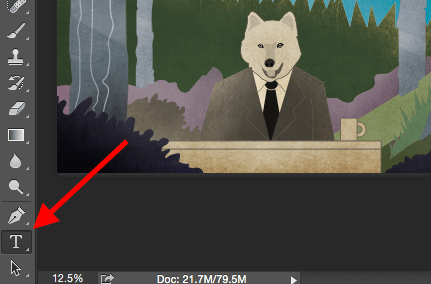
3. Custom Fonts & The Text Tool
What It Does: The Text tool lets you add custom fonts to your database, and it gives you access to advanced font settings that give your text some serious style.
Where It's Located: The toolbar on your left, near the bottom.
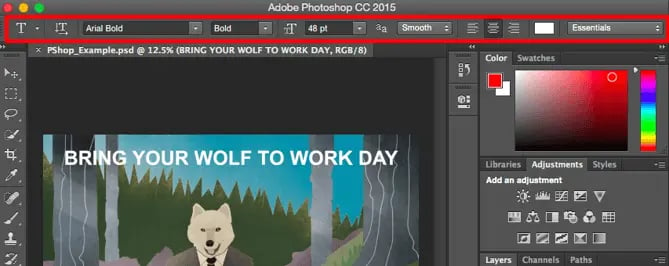
Once you click the Text tool icon, all of the settings and font options will pop up at the top of your screen. These settings let you change the font, font size, and spacing between characters, height, width, color, and style. Be sure to select the layer of your desired text to edit it.
To add text to your graphic:
The text tool works like any other text tool you’ve used. Click the "T" icon on the left side bar, drag the text box over any particular area you want text to appear, and you’re set to go.
Whenever you create a text box, Photoshop will generate a layer for it. You can choose the color, size, stroke, font style, and a variety of other options to switch things up.
Pro Tip: While Photoshop offers a wide variety of fonts, you can also install your own fonts. Read this blog post for a list of 35 beautiful fonts you can download for free, and then read this post to learn how to install your new fonts in Photoshop so you can get to using 'em.
To learn more about fonts and the Text tool,
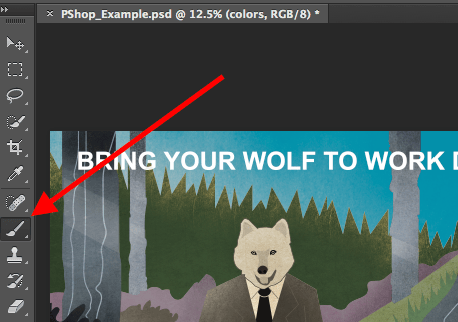
4. Custom Brushes & The Brush Tool
Custom brush tips, like typefaces, may be added royalty-free. The brush settings allow you to adjust the size, shape, and transparency of your brush strokes to generate a variety of visual effects.
Brushes are an excellent method to add visual elements to your material. Photoshop provides you with a wide assortment of brush tips to clean up your images and create some simple visual effects.
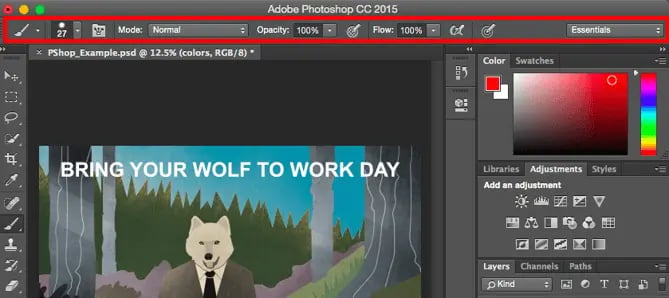
Where It's Located: The toolbar on the left.
When you select the Brush tool icon, all of the settings and brush choices will appear at the top of the screen. These parameters allow you to adjust the brush size, opacity, flow, and so forth. Photoshop comes with a number of pre-installed brush tips, as well as any custom brush tips that you add. (If you want to be creative, you can get royalty-free brushes here.)
To use the brush tool:
The brush tool is perfect for adding design accents to your content content. When using the brush tool, I always suggest adding a new layer to work with so you don’t paint over any of your other elements. You can choose colors from your library of swatches, or use a custom color.
Changing the brush settings can give your brush a drastically different look and style. Don’t be afraid to play around a bit with all of your custom brushes.
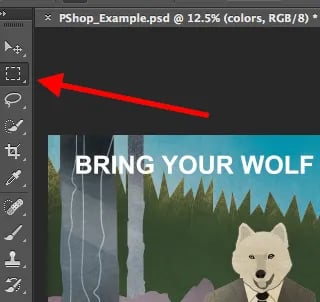
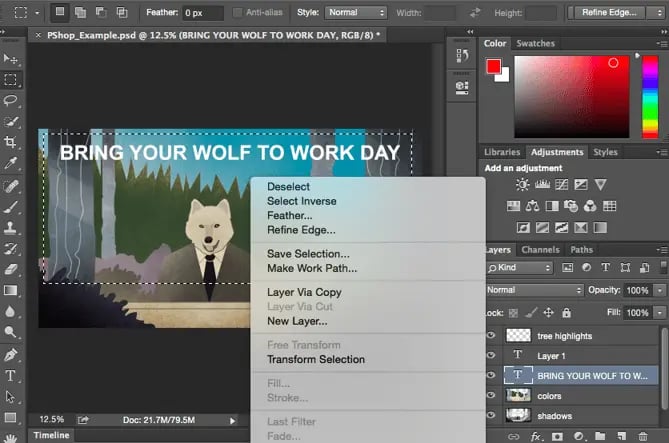
5. The Select Tool
What It Is: When used correctly, this tool will let you select individual elements, entire graphics, and determines what is copied, cut, and pasted into your graphics.
Where It's Located: The toolbar on the left.
The Select tool is known as one of the most basic, yet frustrating tools to use in Photoshop. The first thing you should know is that it'll only work if a layer is highlighted. So, if I want to cut or copy a piece of Layer 4, Layer 4 must be highlighted in my Layer's tool bar. Highlighted areas are indicated by a flashing dotted line.
.webp?width=547&height=419&name=photoshop-select-dotted-line%20(1).webp)
Once you remember to pay attention to which layer you are working with, the Select tool becomes much easier to use.
First, highlight your area of choice. Then, simply right-click and decide what you'd like to do from the pull-out menu. For example, you can cut out objects from a current layer and create a layer of your own.
How to select an image to insert into your graphic:
Open the image you'd like to use in Photoshop, and use the Select Tool to determine how much of the image you want to copy. Once you’ve selected the area of the image, simply copy the area.
Next, open the tab for your current project and paste it in as a new layer. Highlight the layer of the object(s) you'd like to select. You can move multiple objects at once by highlighting multiple layers.
Then, right-click your selection, and then you have a few options, including:
A) Choosing "Layer via Copy" to copy the object(s) from this layer and create a layer of its own.
Pro Tip: To select your entire graphic and include all layers, highlight all layers and then use the Select tool. Once you've determined the area to copy, use the menu bar at the top and click "Edit" > "Copy Merged." This will copy the entire graphic so you can paste it as its own layer.
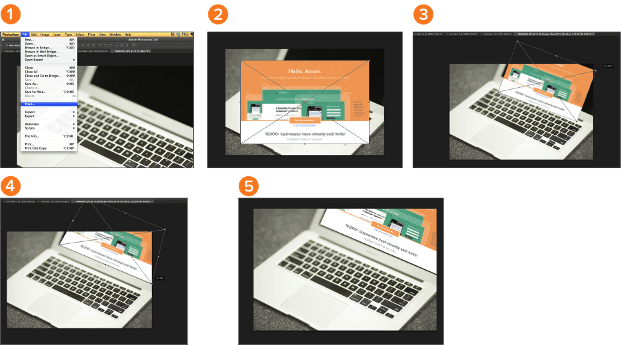
B) Choosing "Free Transform" to scale, rotate, move, and flip your selections. (Refer to the Move tool in the next section of this post if you need more help on this.)
Pro Tip: One really nifty trick you can do with "Free Transform" is to overlay screenshots of a PDF to make a 3D-looking image, like the one below for our introductory Pinterest ebook. You can find a visual overview of the steps below, but read this blog post for the step-by-step tutorial.
To learn more about all the Selection tools available in Photoshop,
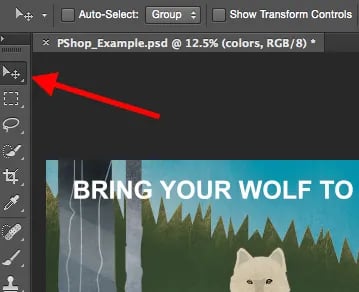
6. The Move Tool
What It Does: This is a fairly basic tool that allows you to move individual elements of your graphic.
The Move tool works on individual layers, and on the graphic as a whole -- if (remember how to do this?) you highlight all of your layers. It comes in handy when you’re trying to reposition images, text, and other design elements.
Where It's Located: The toolbar on the left, at the top.
To use the Move tool:
Click the Move Icon from the left hand menu bar and simply drag the object(s) you would like to move. To move all objects in one layer, simply highlight the layer and use the Move tool. You can also right click the object for additional options.
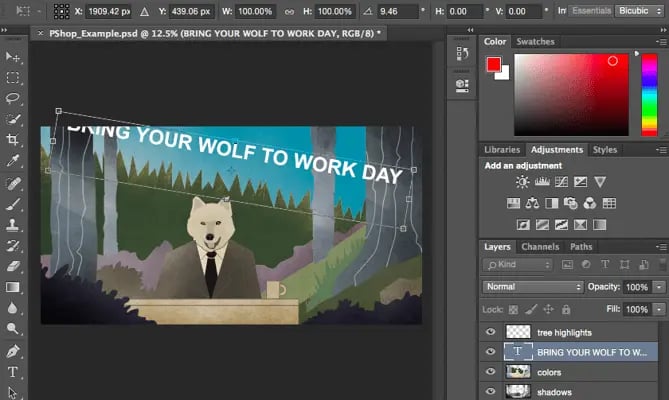
To scale, rotate, move, and flip things:
The Free Transform tool lets you scale, rotate, move, and flip any element in your select layer or layers. Use the shortcut CTRL + T or Command + T (for Macs) to initiate Free Transform, and check out the options that pop up at the top of your screen. Hold the SHIFT key while transforming to maintain the proportions of your elements.
7. The Zoom Tool
What It Does: The Zoom tool lets you zoom in close to certain areas of an image, and zoom out to get more of a bird's eye view of what's happening.
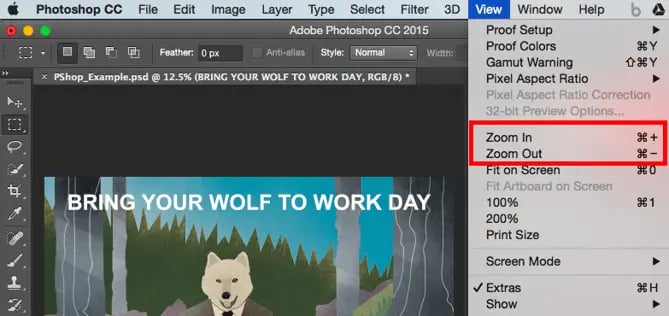
Where It's Located: In the top menu bar, choose View > Zoom In or View > Zoom Out.
To use the Zoom tool:
Either select the zoom options from the "View" menu (as shown above). To use the keyboard shortcut, hold ALT (PC) or Command (Mac) and press + to zoom in, and ALT (PC) or Command (Mac) and press - to zoom out.